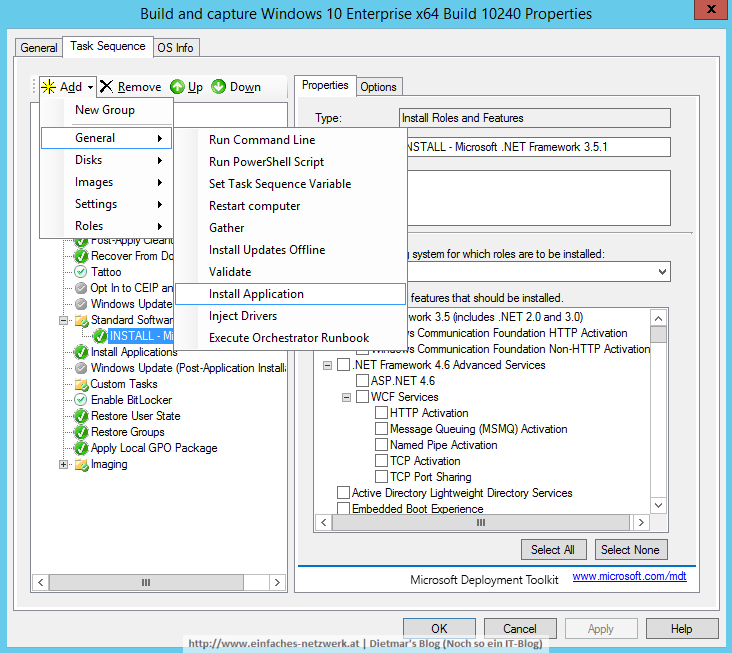
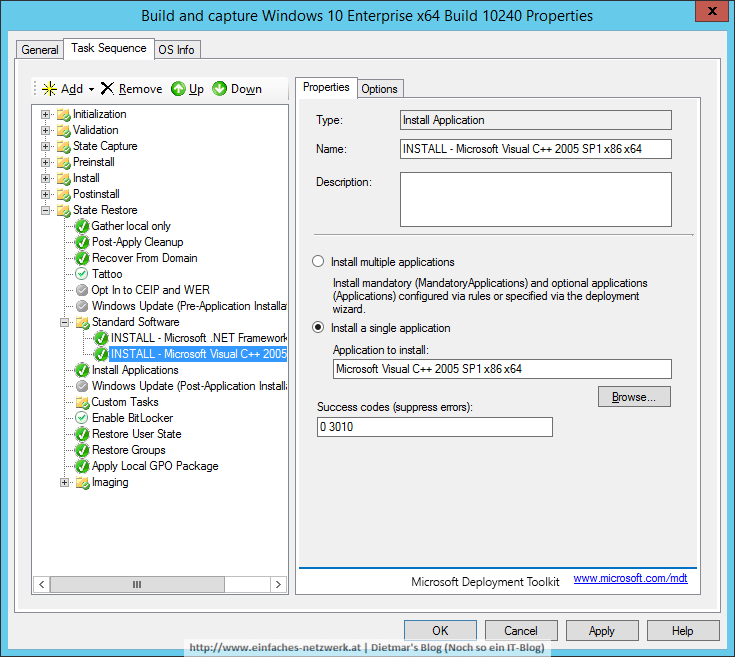
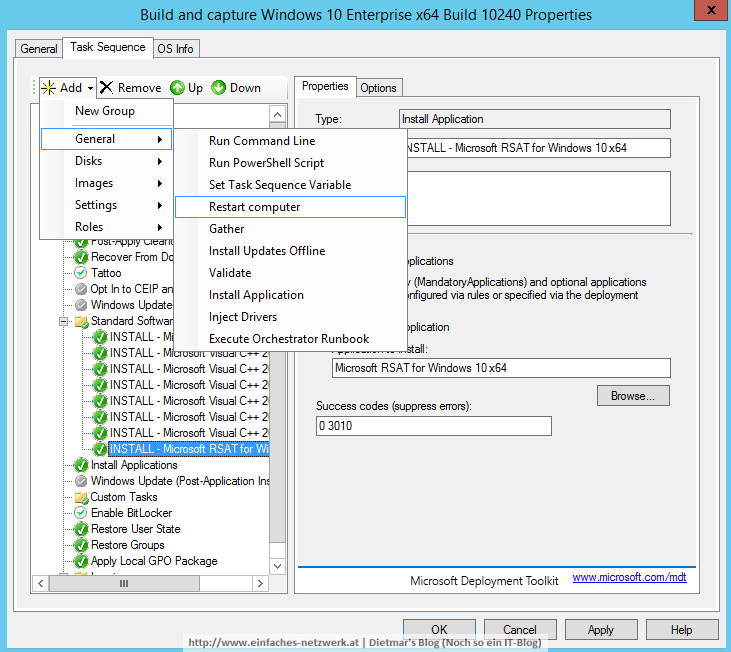
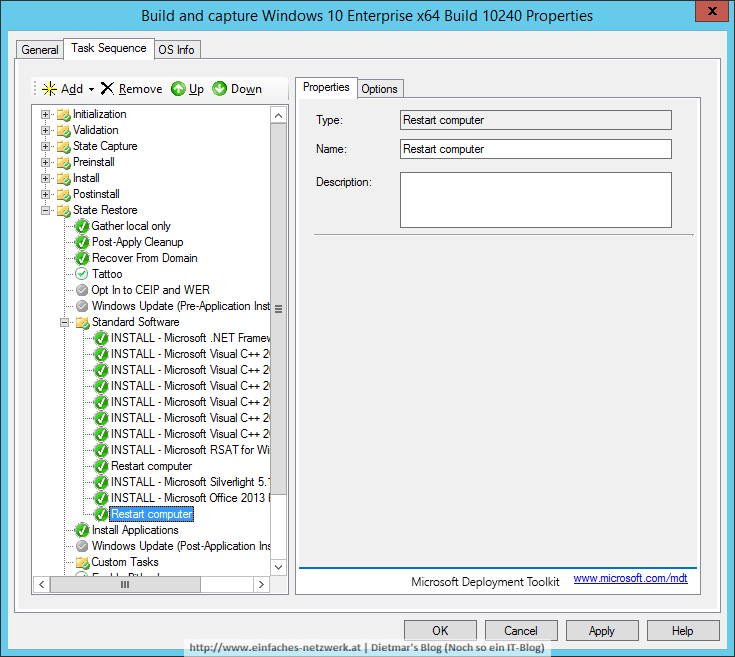
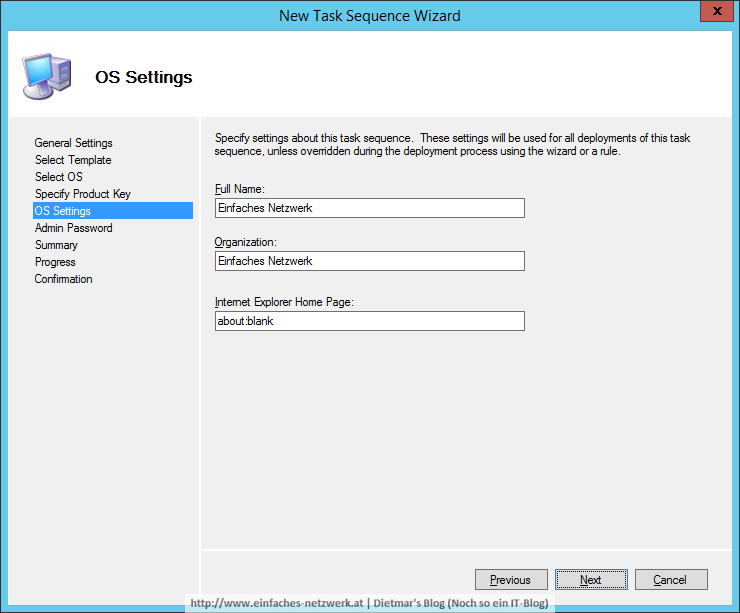
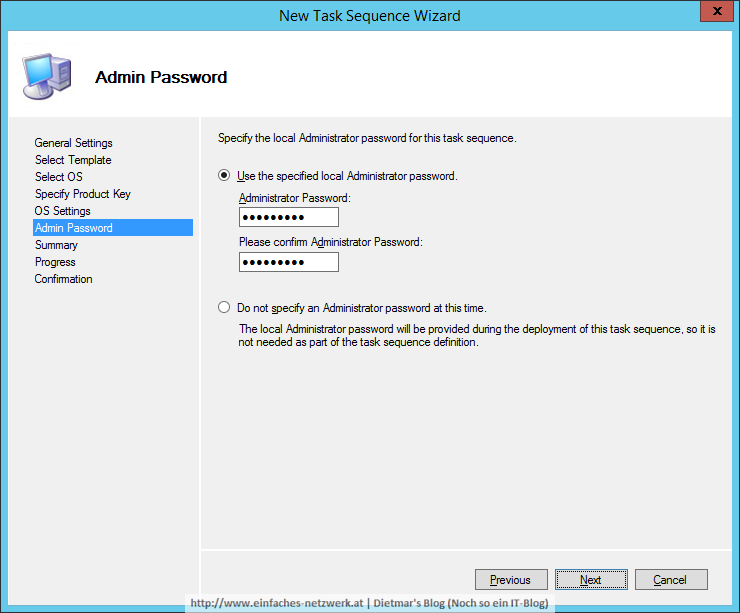
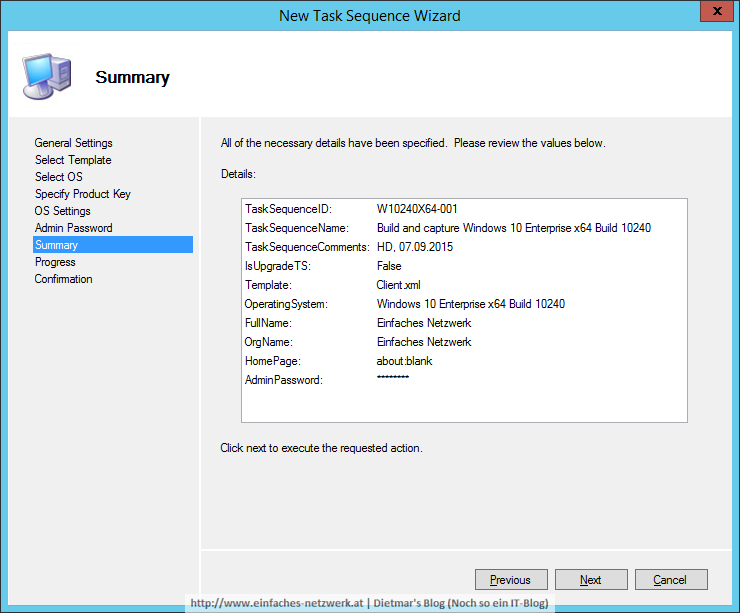
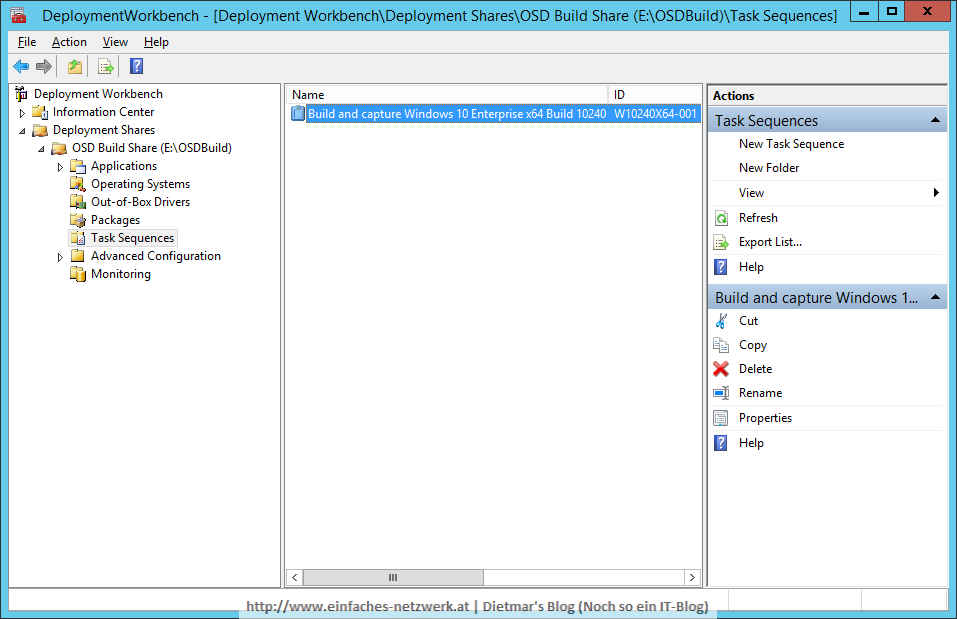
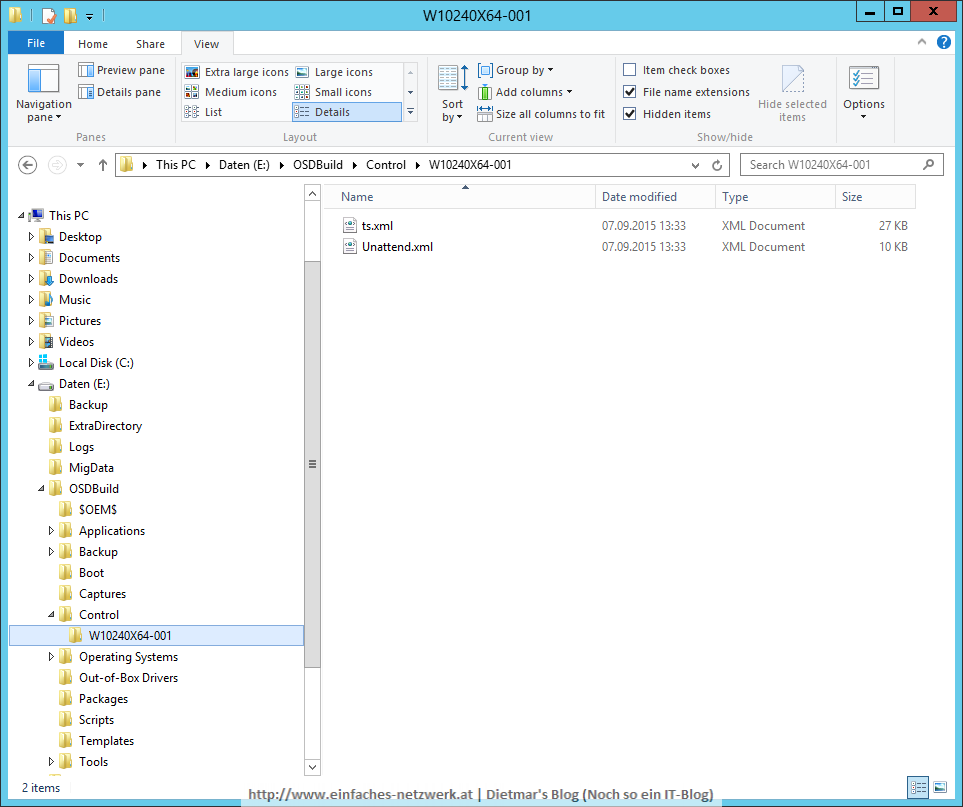
In diesem Teil werde ich die CustomSettings.ini und Bootstrap.ini konfigurieren. Eine aktuelle Dokumentation zu MDT 2013 Update 1 gibt es derzeit nicht.
Die CustomSettings.ini konfigurieren
- Als Administrator an MDT1 anmelden
- Deployment Workbench starten
- Deployment Shares erweitern
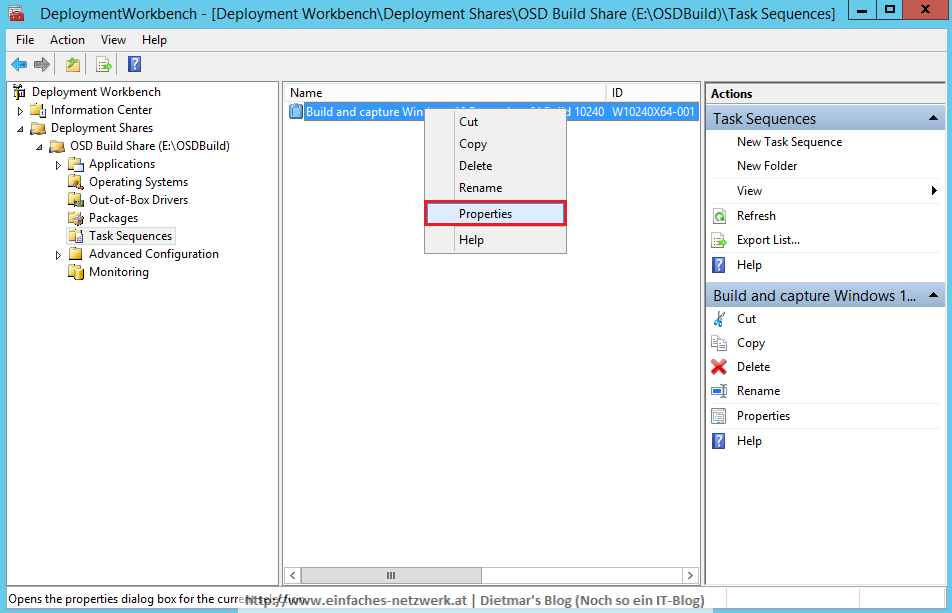
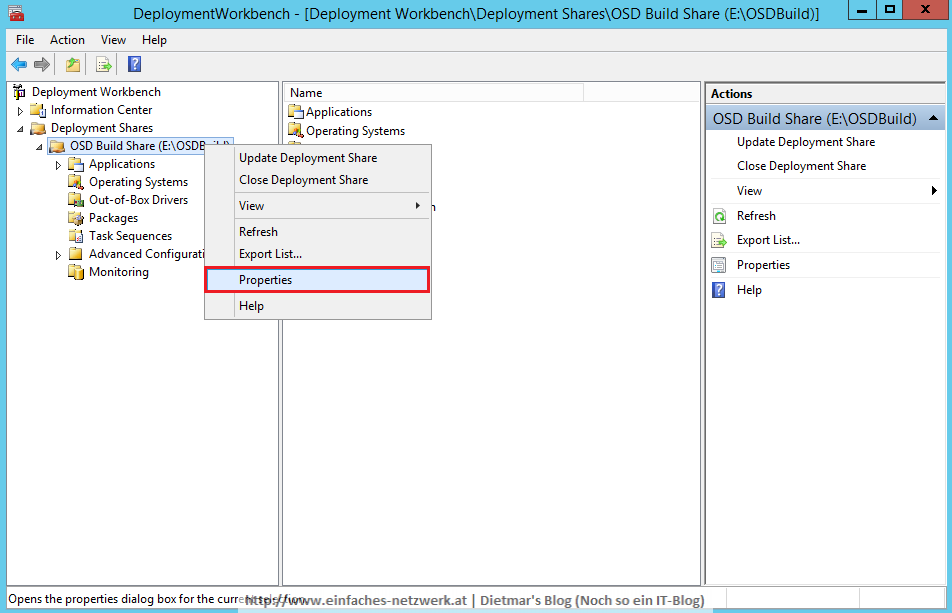
- OSD Build Share rechts anklicken > Properties
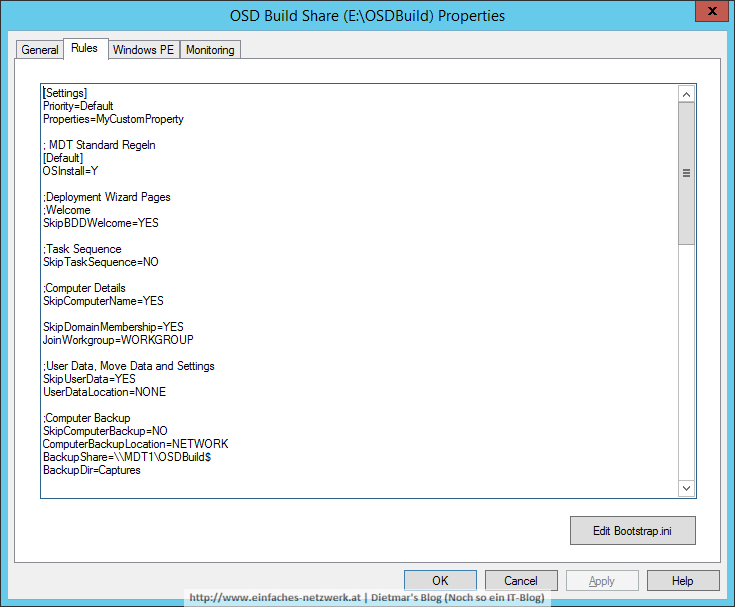
- Auf den Reiter Rules wechseln
- Folgende CustomSettings.ini erstellen:
<span style="font-family: Courier New;">[Settings]
Priority=Default
Properties=MyCustomProperty

;MDT Standard Regeln
[Default]
OSInstall=YES

;Deployment Wizard Pages
;Welcome
SkipBDDWelcome=YES

;Task Sequence
SkipTaskSequence=NO

;Computer Details
SkipComputerName=YES

SkipDomainMembership=YES
JoinWorkgroup=WORKGROUP

;User Data, Move Data and Settings
SkipUserData=YES
UserDataLocation=NONE

;Computer Backup
SkipComputerBackup=YES
ComputerBackupLocation=NETWORK
BackupShare=\\MDT1\OSDBuild$
BackupDir=Captures
BackupFile=W10240X64-001.wim

;Product Key
SkipProductKey=YES

;Locale and Time
SkipLocaleSelection=YES
UserLocale=de-AT
UILanguage=de-DE
KeyboardLocale=de-DE
KeyboardLocalePE=de-DE

SkipTimeZone=YES
TimeZoneName=W. Europe Standard Time

;Roles and Features
SkipRoles=YES

;Applications
SkipApplications=YES

;Administrator Password
SkipAdminPassword=YES
AdminPassword=Password1

;Local Administrators
SkipAdminAccounts=YES

;Capture Image
SkipCapture=YES
DoCapture=YES

;Bitlocker
SkipBitLocker=YES
BDEInstallSuppress=YES
DoNotCreateExtraPartition=YES

;Ready to begin
SkipSummary=YES
SkipFinalSummary=NO

;Updates
WSUSServer=https://wsus.intern.einfaches-netzwerk.at:8531

ApplyGPOPack=NO
FinishAction=SHUTDOWN
_SMSTSORGNAME=Einfaches-Netzwerk

;Logging
SLShare=\\MDT1\Logs$</span>
Die Bootstrap.ini konfigurieren
- Auf Edit Bootstrap.ini klicken
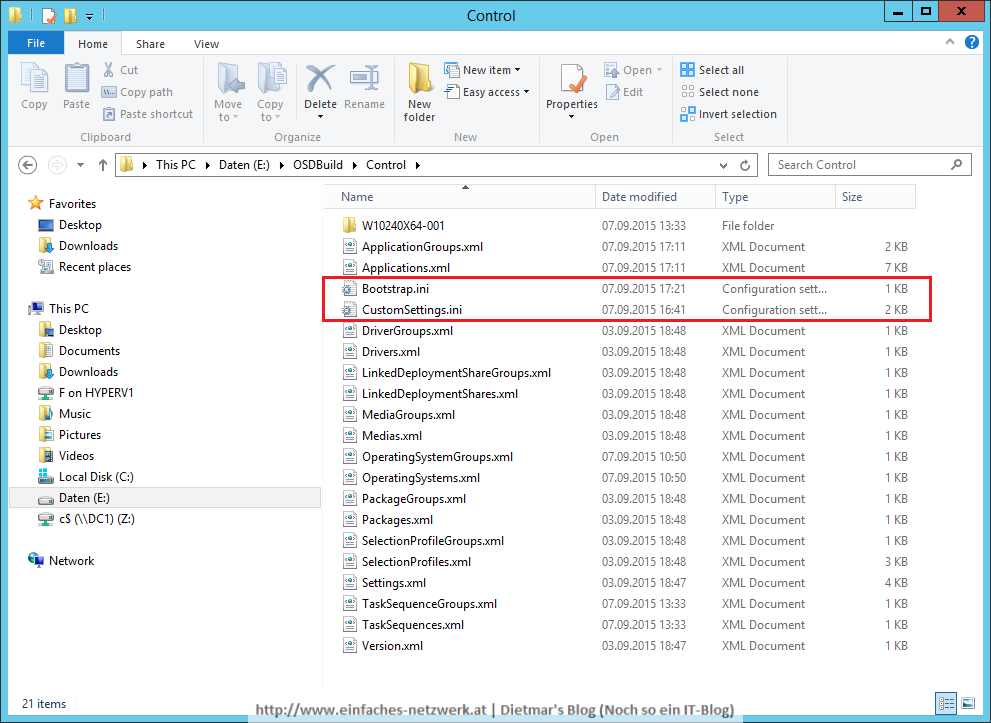
Folgende Bootstrap.ini erstellen:<span style="font-family: Courier New;">[Settings] Priority=Default [Default] DeployRoot=\\MDT1\OSDBuild$ UserDomain=intern.einfaches-netzwerk.at UserID=osd_build UserPassword=Password1 KeyboardLocale=de-DE KeyboardLocalePE=de-DE SkipBDDWelcome=YES</span>- Die Bootstrap.ini und CustomSettings.ini im Datei-Explorer
Im nächsten Schritt werde ich Windows PE konfigurieren, danach kann ich das Windows 10-Image erstellen.

