In diesem Teil werde ich eine Task Sequence zur Deployment Workbench hinzufügen. In der Task Sequence sind die Einzelschritte enthalten, die während der Betriebssystemverteilung abgearbeitet werden.
Task Sequence zur Deployment Workbench hinzufügen
- Als Administrator an MDT1 anmelden
- Deployment Workbench starten
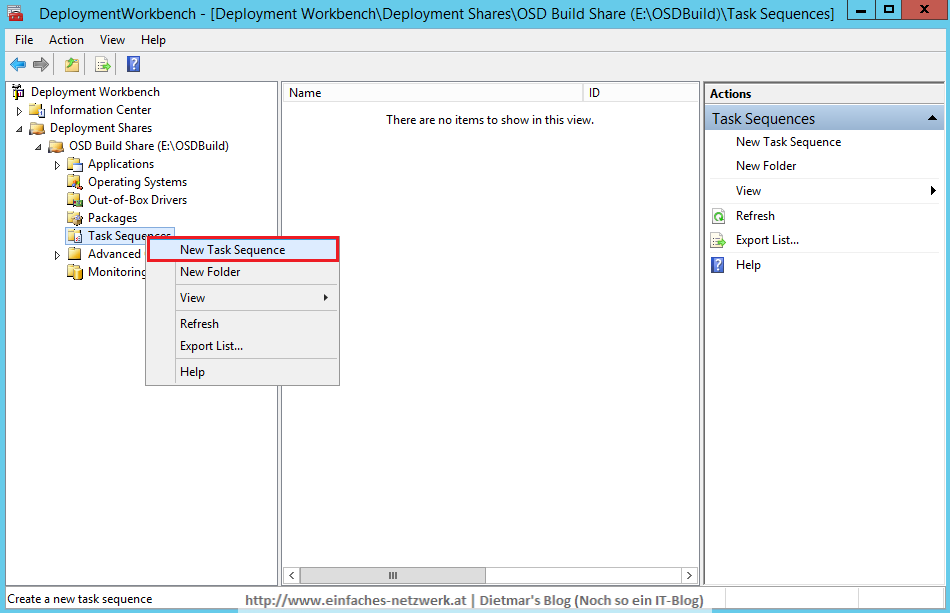
- OSD Build Share erweitern
- Task Sequences rechts anklicken > New Task Sequence
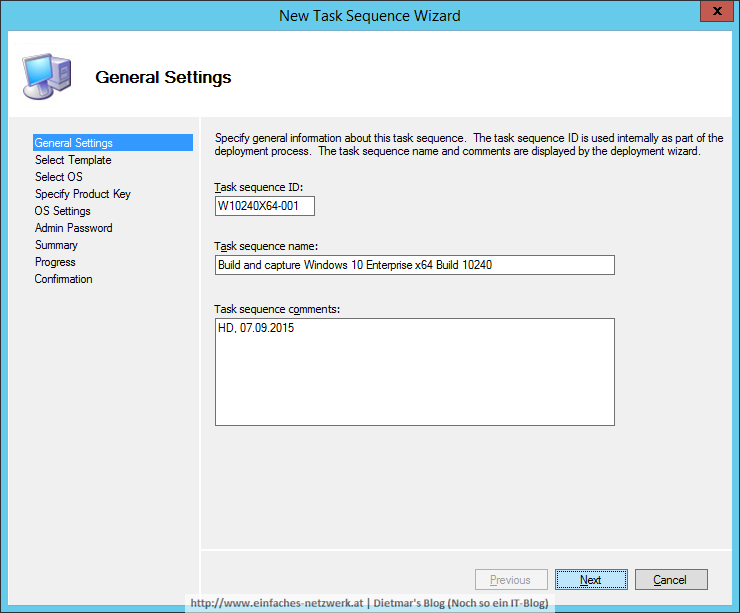
- New Task Sequence Wizard
- General Settings
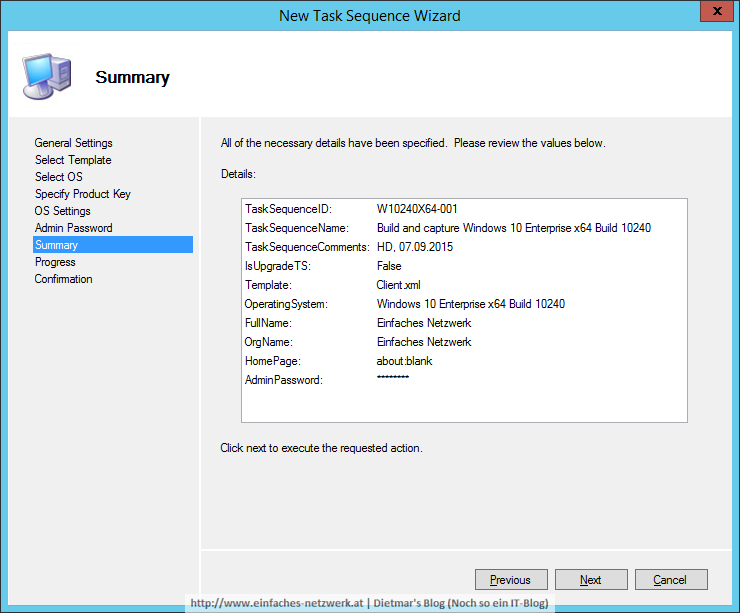
- Task sequence ID: W10240X64-001
- Task sequence name: Build and capture Windows 10 Enterprise x64 Build 10240
- Task sequence comments: HD, 07.09.2015 > Next
- Select Template
- Standard Client Task Sequence > Next
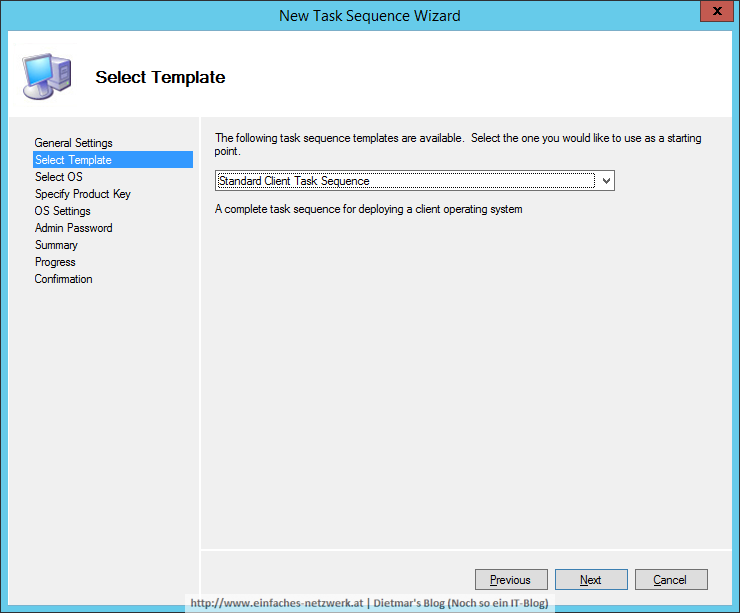
- Standard Client Task Sequence > Next
- Select OS
- Windows 10 Enterprise x64 Build 10240 > Next
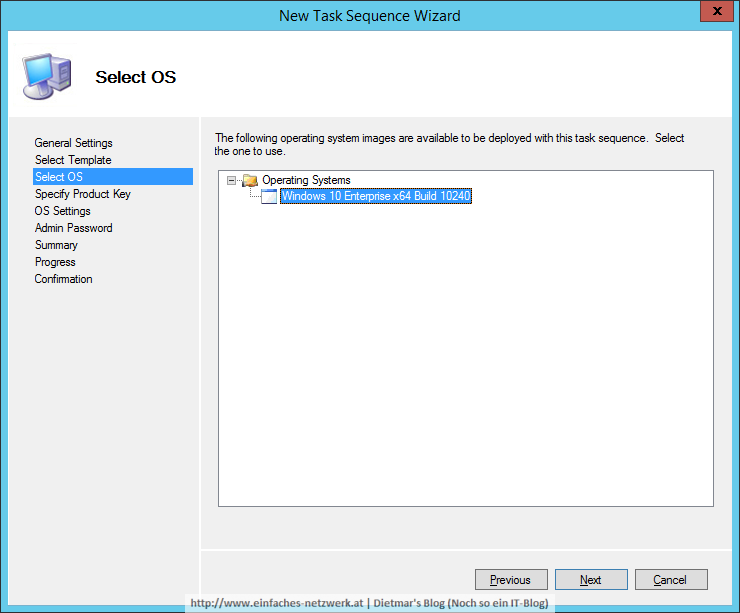
- Windows 10 Enterprise x64 Build 10240 > Next
- Specify Product Key
- Do not specify a product key at this time > Next
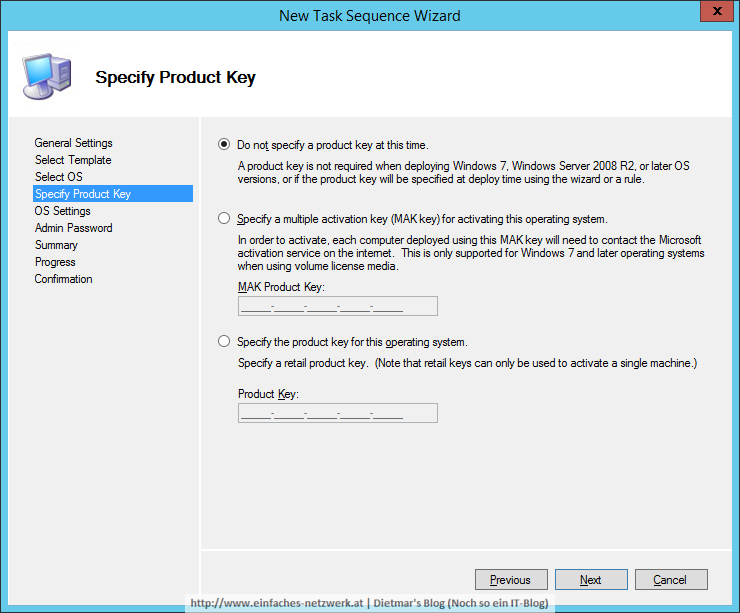
- Do not specify a product key at this time > Next
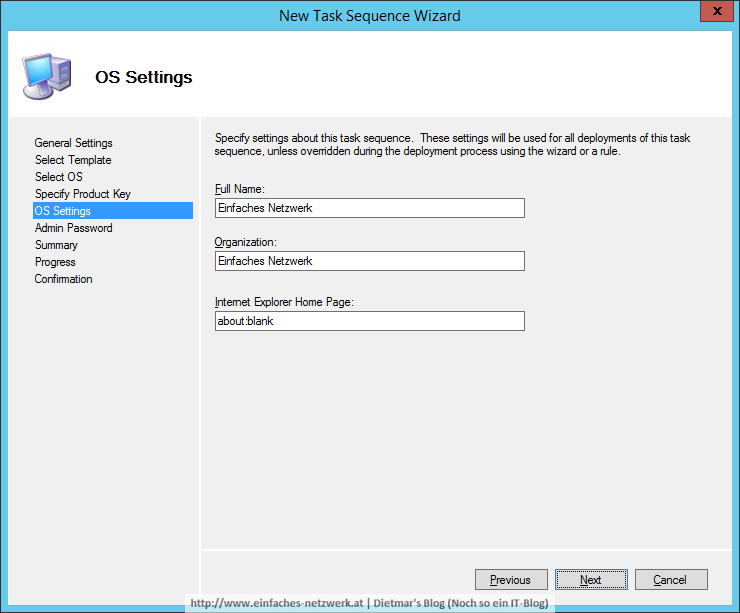
- OS Settings
- Full name: Einfaches Netzwerk
- Organization: Einfaches Netzwerk
- Internet Explorer Home Page: about:blank > Next
- Admin Password
- Password: Password1 > Next
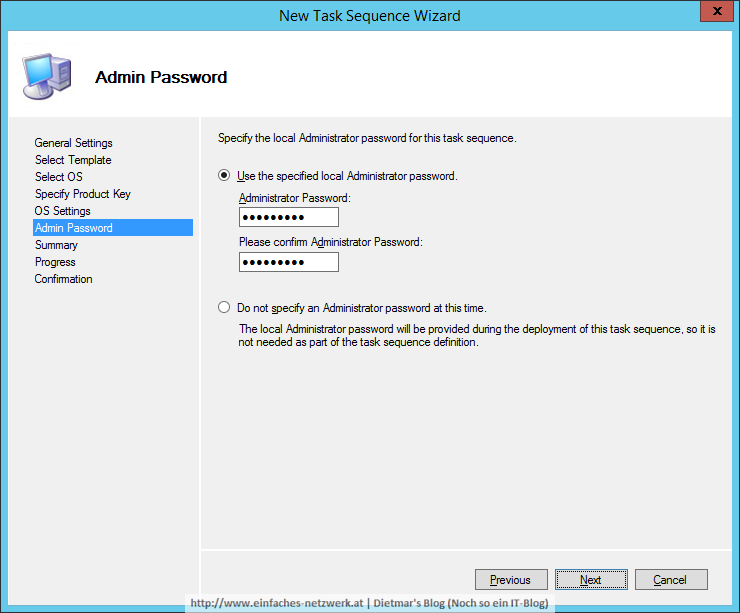
- Password: Password1 > Next
- Summary > Next
- Confirmation > Finish
- General Settings
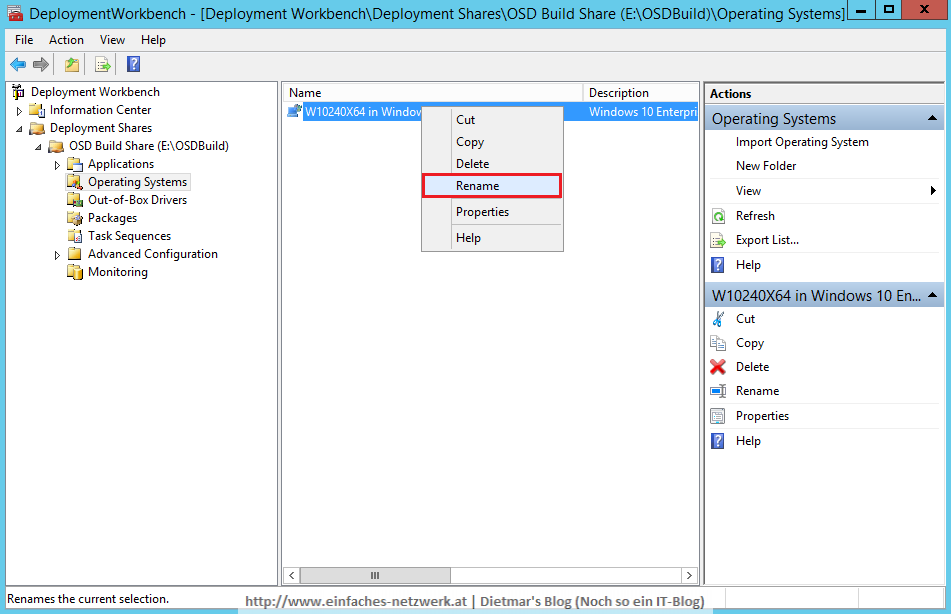
- Die Task Sequence in der Deployment Workbench
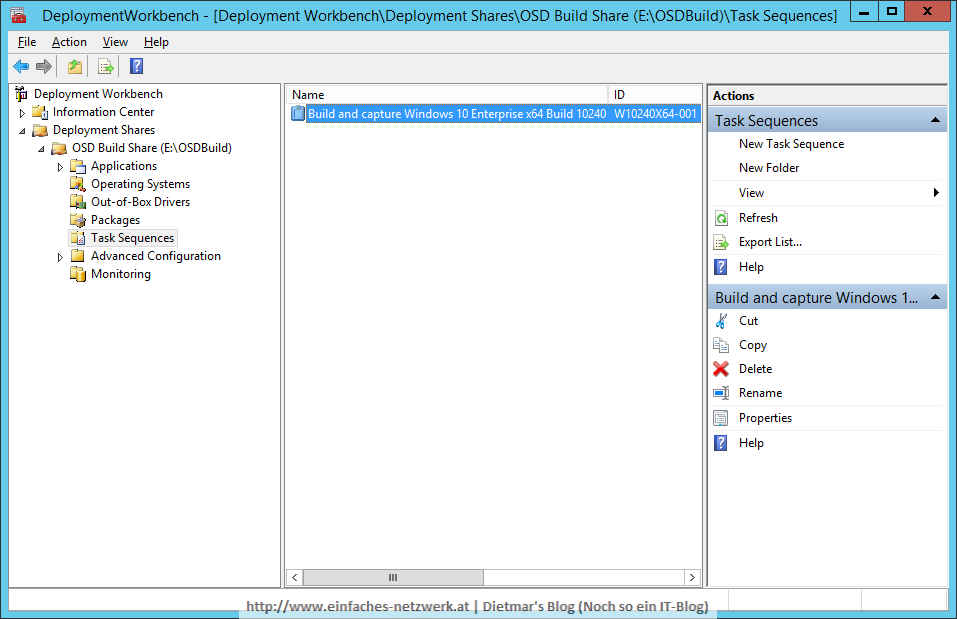
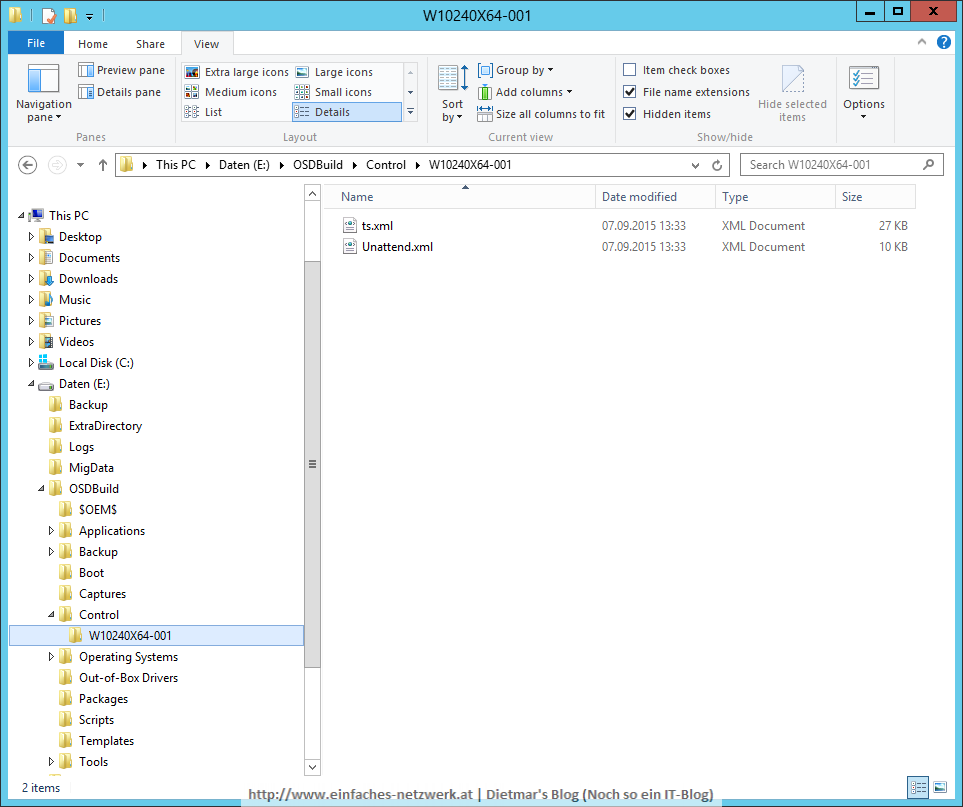
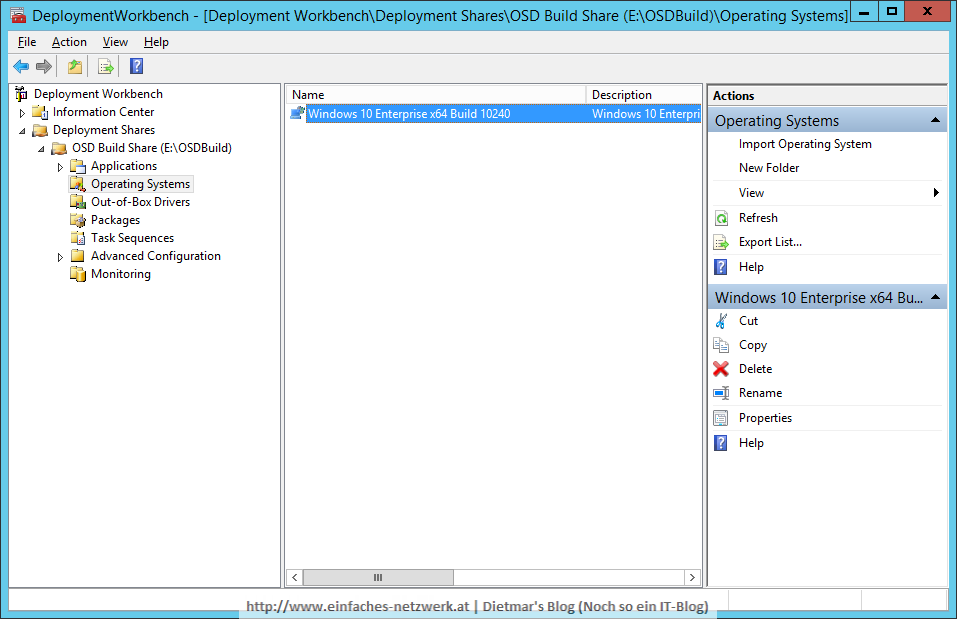
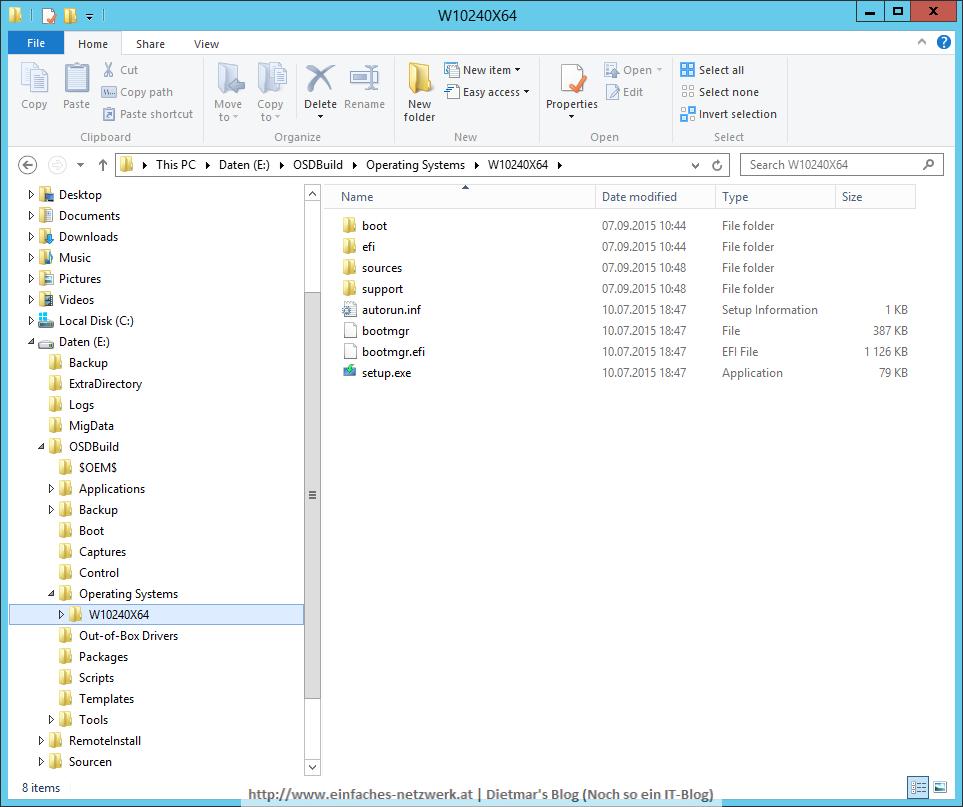
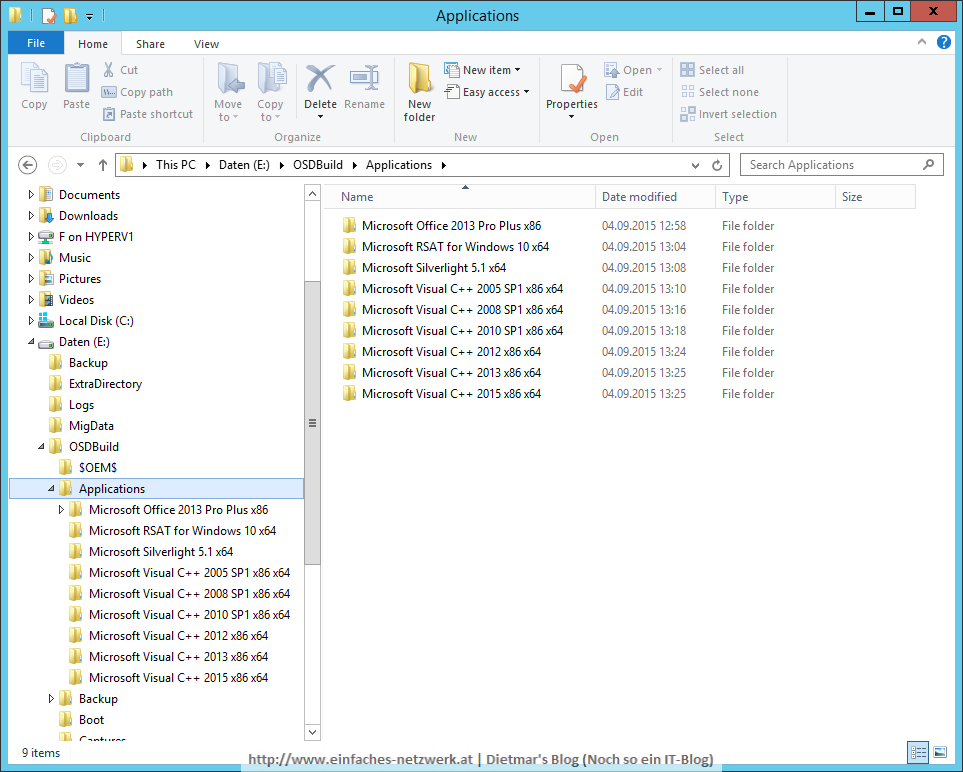
- Die Task Sequence im Datei-Explorer