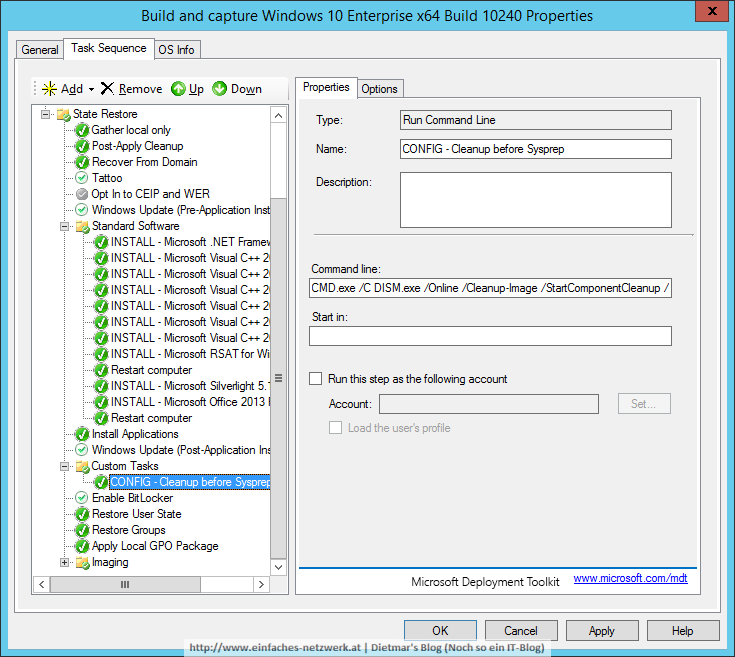
Windows PE konfigurieren und Monitoring aktivieren sind die letzten Schritte vor der Erstellung des Windows 10-Images.
Windows PE konfigurieren und Monitoring aktivieren
- Als Administrator an MDT1 anmelden
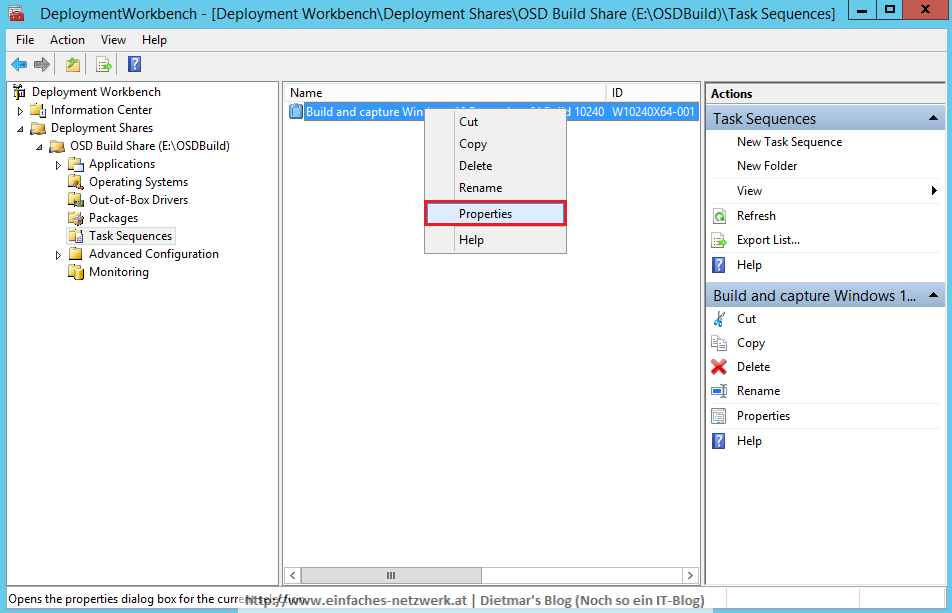
- Deployment Workbench starten
- Deployment Shares erweitern
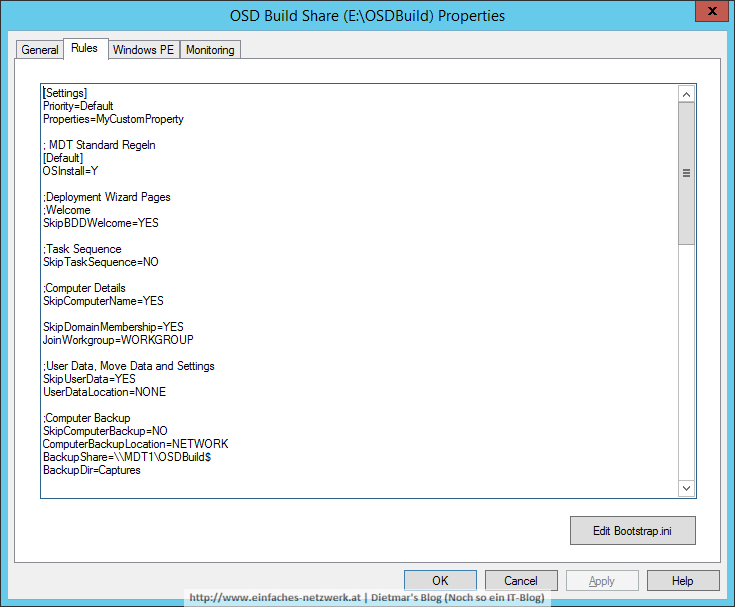
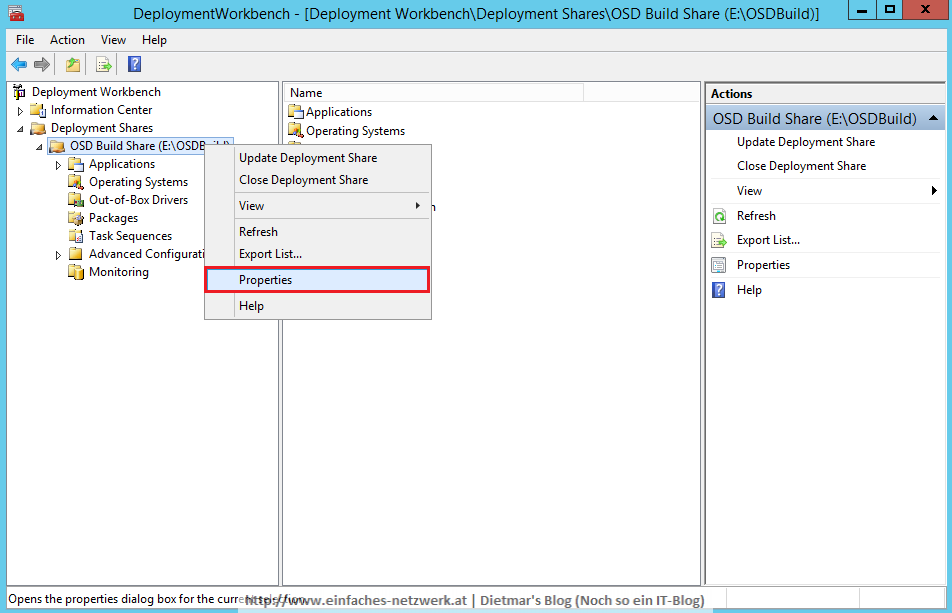
- OSD Build Share rechts anklicken > Properties
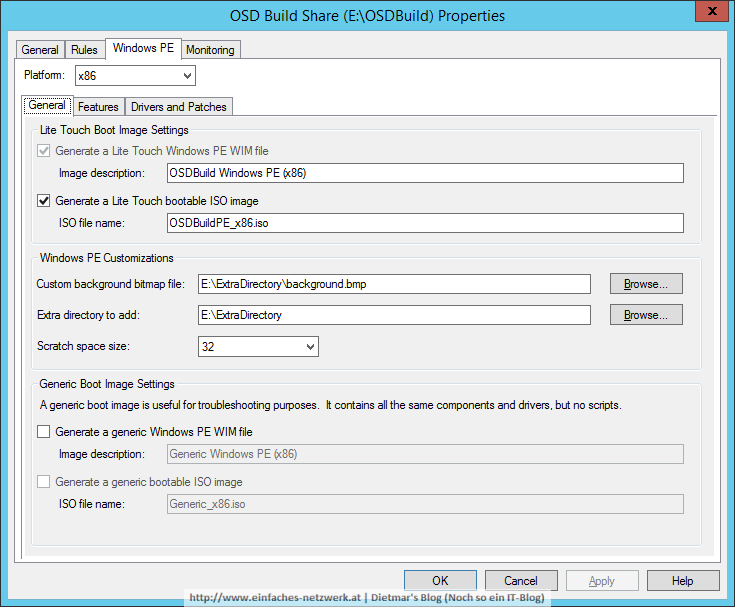
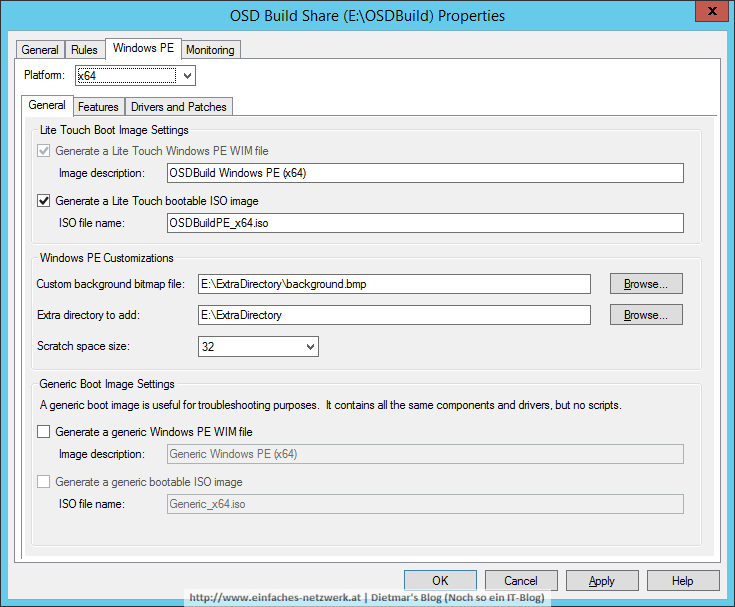
- Auf den Reiter Windows PE wechseln
- Platform x86, Reiter General
- Image description: OSDBuild Windows PE (x86)
- ISO file name: OSDBuildPE_x86.iso
- Extra directory to add: E:\ExtraDirectory (siehe Ordner erstellen und Berechtigungen vergeben und CMTrace 64bit vorbereiten)
- Platform x64, Reiter General
- Image description: OSDBuild Windows PE (x64)
- ISO file name: OSDBuildPE_x64.iso
- Extra directory to add: E:\ExtraDirectory
- Auf den Reiter Monitoring wechslen
- Enable monitoring for this deployment share aktivieren
- Monitoring host: MDT1
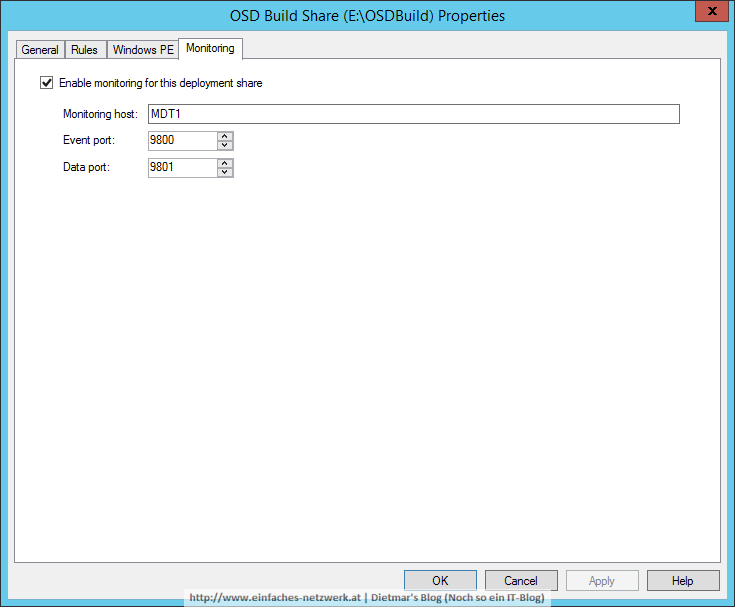
- Monitoring host: MDT1
- Fenster mit OK schießen
Deployment Share updaten
- OSD Build Share rechts anklicken > Update Deployment Share
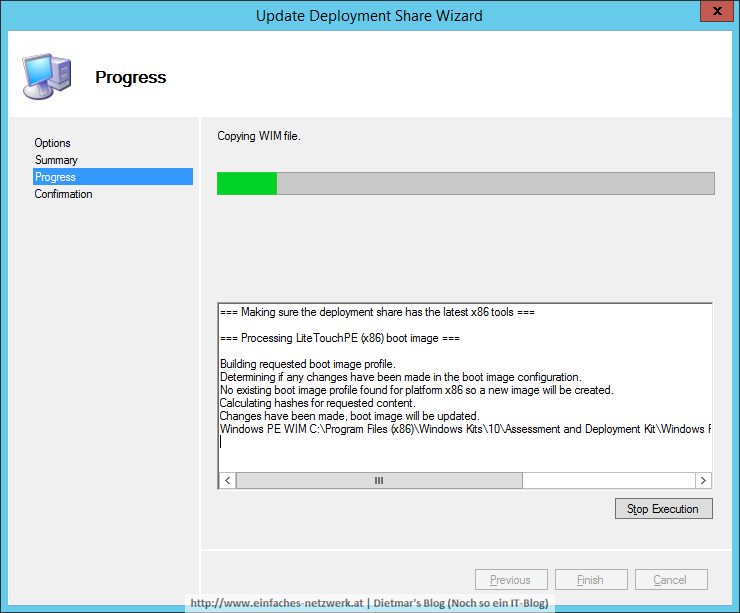
- Update Deployment Share Wizard
- Options
- Optimize the boot image updating process > Next
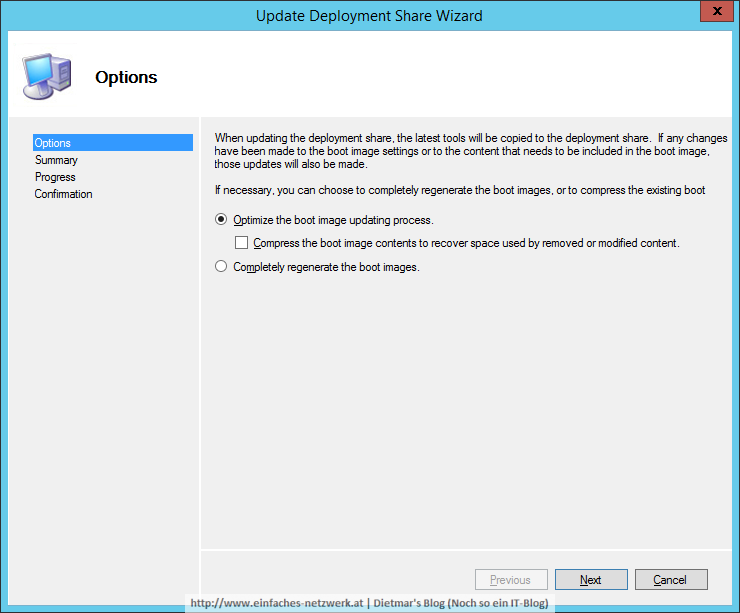
- Optimize the boot image updating process > Next
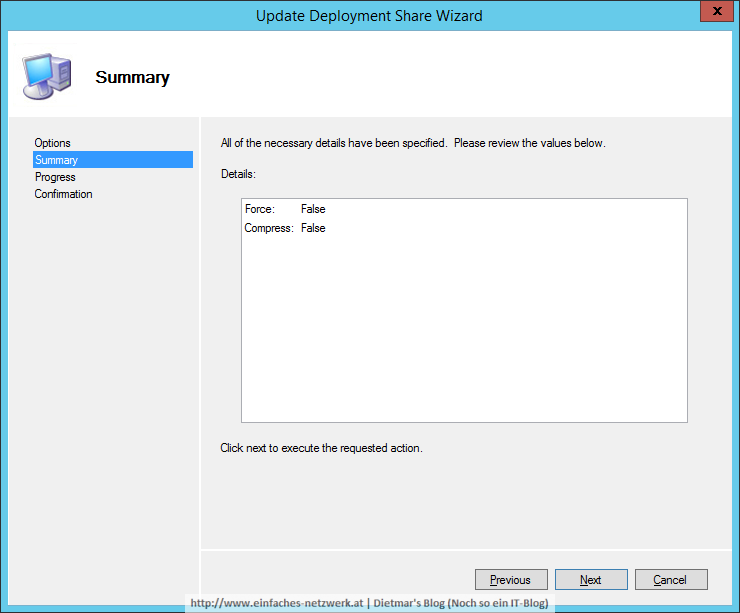
- Summary
- Progress
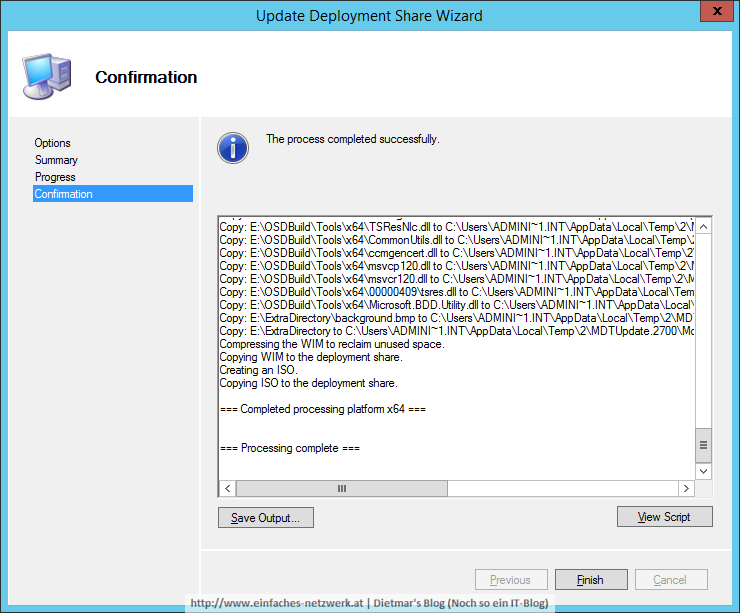
- Confirmation > Finish
- Options
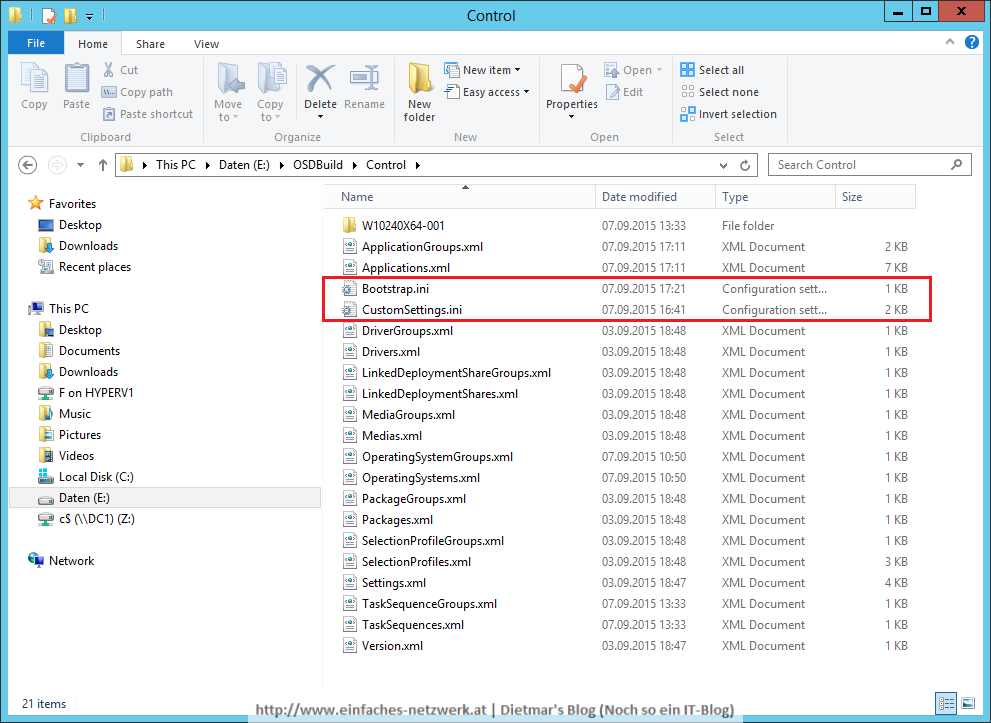
- Die Boot-Images im Datei-Explorer
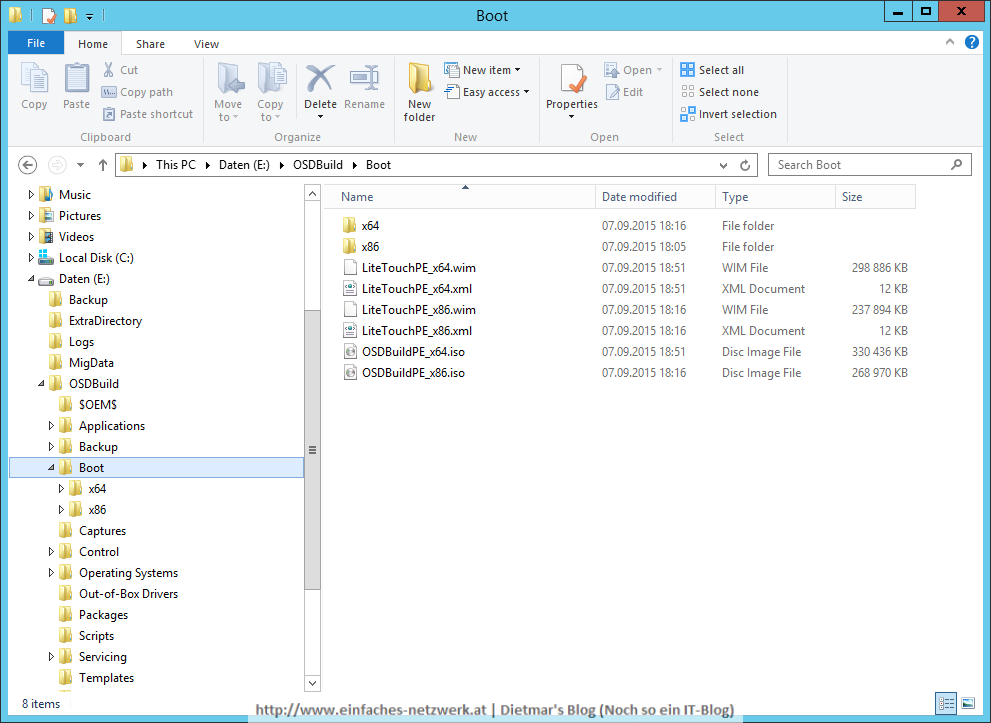
- Die Datei OSDBuildPE_x64.iso auf den Server HYPERV1 nach C:\Sourcen kopieren
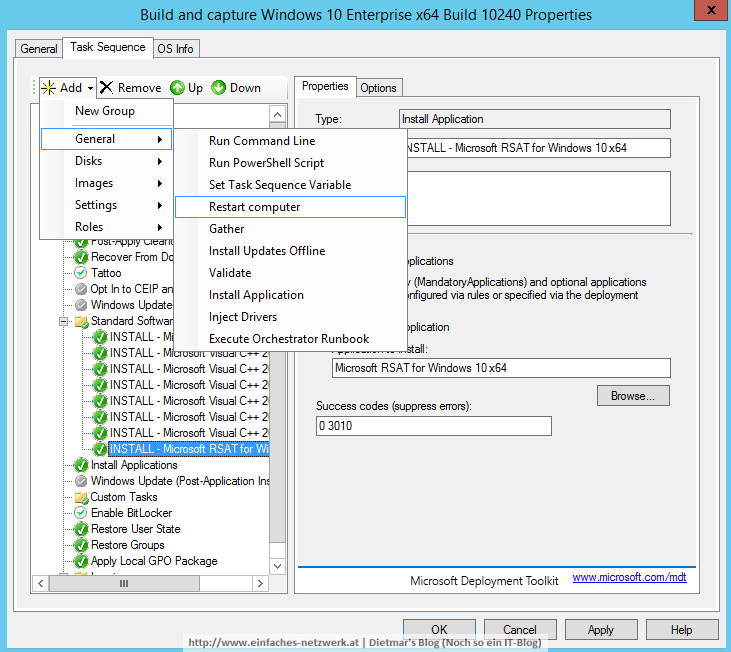
Alle Vorbereitungen sind getroffen, ein gutes Windows 10-Image zu erstellen. Mehr im nächsten Teil.