In diesem Teil werde ich den OSDProd Deployment Share erstellen und die ersten Inhalte hinzufügen.
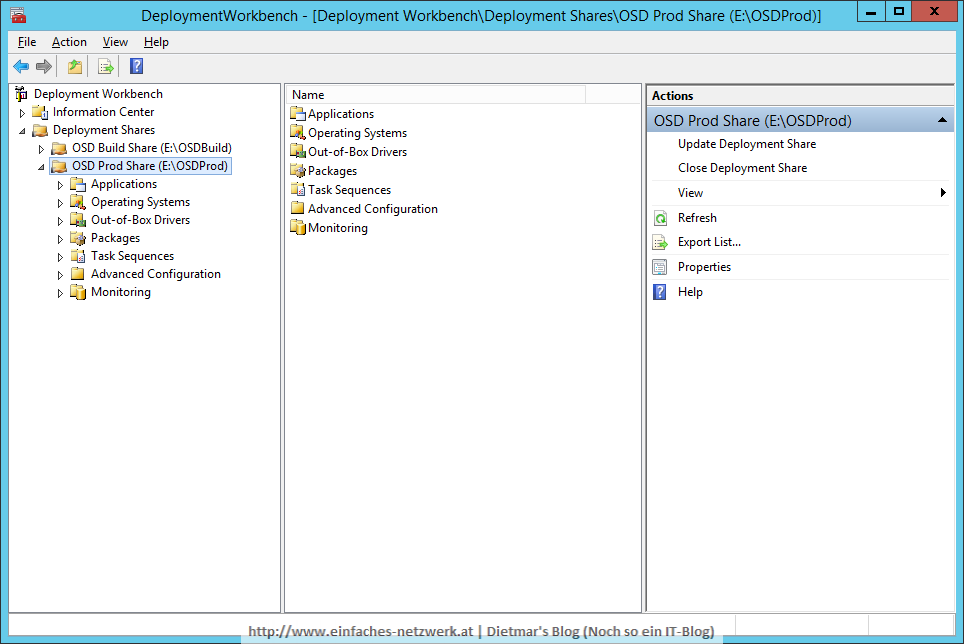
OSDProd Deployment Share erstellen
Die detaillierte Anleitung siehe OSDBuild Deployment Share erstellen
- Als Administrator an MDT1 anmelden
- Deployment Workbench starten
- Folgenden Deployment Share hinzufügen
- Deployment share path: E:\OSDProd
- Share name: OSDProd$
- Descriptive name: OSD Prod Share
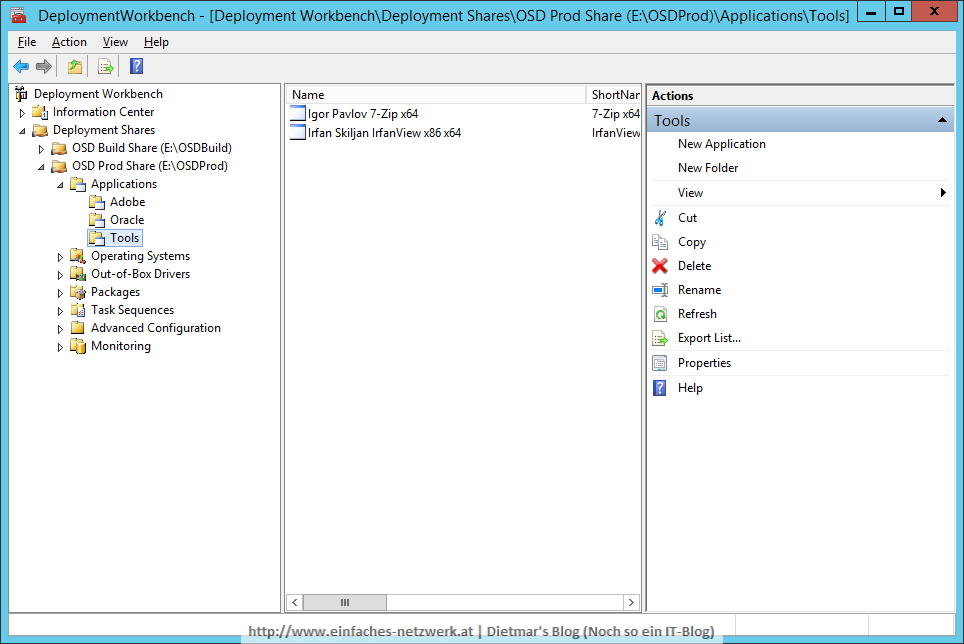
Anwendungen hinzufügen
Die detaillierte Anleitung siehe Anwendungen zur Deployment Workbench hinzufügen
- Folgende Ordner unter Applications erstellen
- Adobe
- Oracle
- Tools
- Folgende Anwendungen zum Ordner Adobe hinzufügen
- Adobe AIR x86 x64
- Applcation type: Application with source files
- Publisher: Adobe
- Application name: AIR x86 x64
- Source directory: E:\Sourcen\Software\Adobe\Adobe AIR x86 x64
- Destination: Adobe AIR x86 x64
- Command line: install.exe
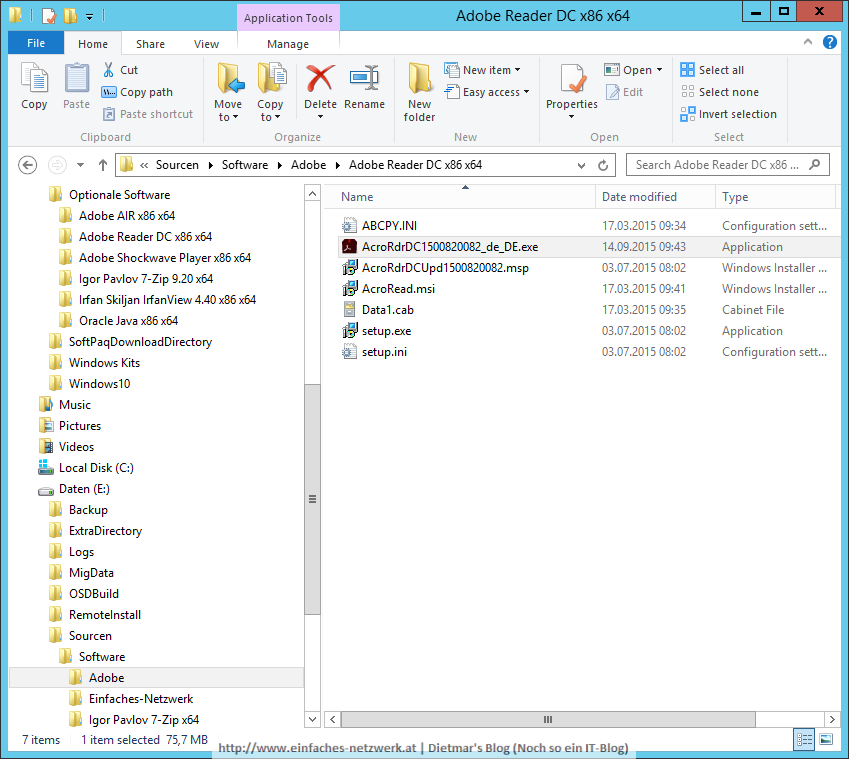
- Adobe Reader DC x86 x64
- Applcation type: Application with source files
- Publisher: Adobe
- Application name: Reader DC x86 x64
- Source directory: E:\Sourcen\Software\Adobe\Adobe Reader DC x86 x64
- Destination: Adobe Reader DC x86 x64
- Command line: install.exe
- Adobe Shockwave Player x86 x64
- Applcation type: Application with source files
- Publisher: Adobe
- Application name: Shockwave Player x86 x64
- Source directory: E:\Sourcen\Software\Adobe\Adobe Shockwave Player x86 x64
- Destination: Adobe Shockwave Player x86 x64
- Command line: install.exe
- Folgende Anwendungen zum Ordner Oracle hinzufügen
- Oracle Java RE 8 x86 x64
- Applcation type: Application with source files
- Publisher: Oracle
- Application name: Java RE 8 x86 x64
- Source directory: E:\Sourcen\Software\Oracle\Oracle Java RE 8 x86 x64
- Destination: Oracle Java RE 8 x86 x64
- Command line: install.exe
- Folgende Anwendungen zum Ordner Tools hinzufügen
- Irfan Skiljan IrfanView x86 x64
- Applcation type: Application with source files
- Publisher: Irfan Skiljan
- Application name: IrfanView x86 x64
- Source directory: E:\Sourcen\Software\Tools\Irfan Skiljan IrfanView x86 x64
- Destination: Irfan Skiljan IrfanView x86 x64
- Command line: install.exe
- Igor Pavlov 7-Zip x64
- Applcation type: Application with source files
- Publisher: Igor Pavlov
- Application name: 7-Zip x64
- Source directory: E:\Sourcen\Software\Tools\Igor Pavlov 7-Zip x64
- Destination: Igor Pavlov 7-Zip x64
- Command line: install.exe
Anwendungen im Deployment Wizard ausblenden
Die Laufzeiten von Adobe und Oracle Java RE8 werden immer installert und sollen nicht im Deployment Wizard zur Auswahl angezeigt werden.
- Die Anwendung Adobe AIR x86 x64 rechts anklicken > Properties
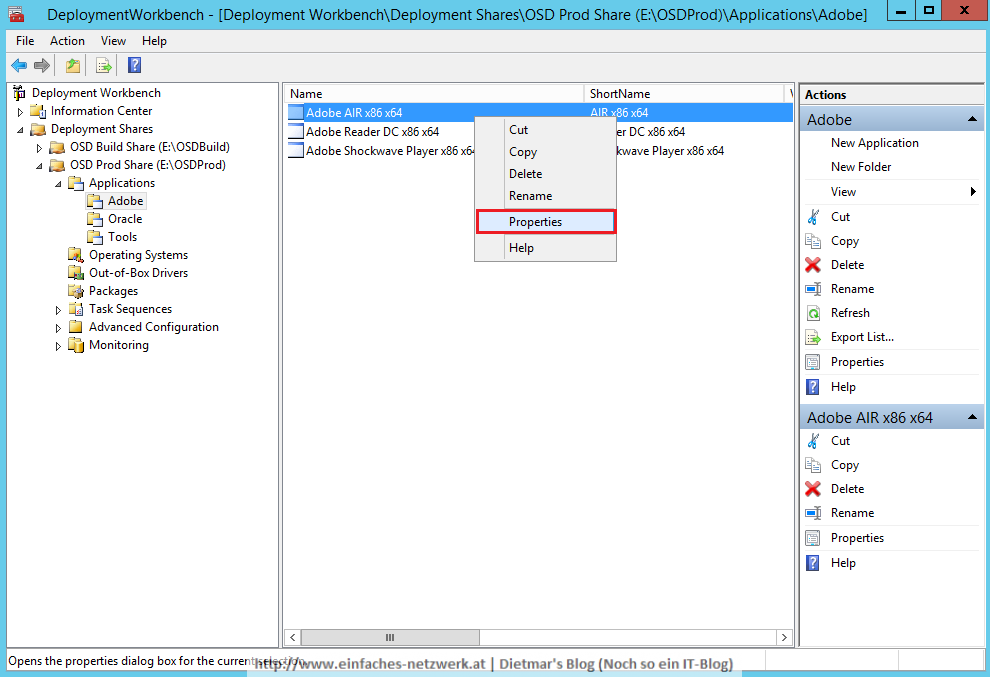
- Hide this application in the Deployment Wizard aktivieren
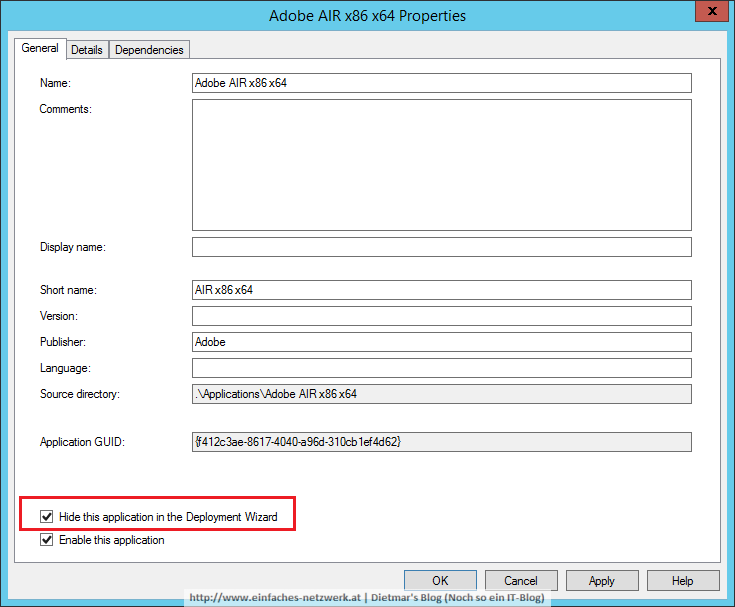
- Fenster mit OK schließen
- Folgende Anwendung im Deployment Wizard ausblenden
- Adobe AIR x86 x64
- Adobe Shockwave Player x86 x64
- Oracle Java RE 8 x86 x64
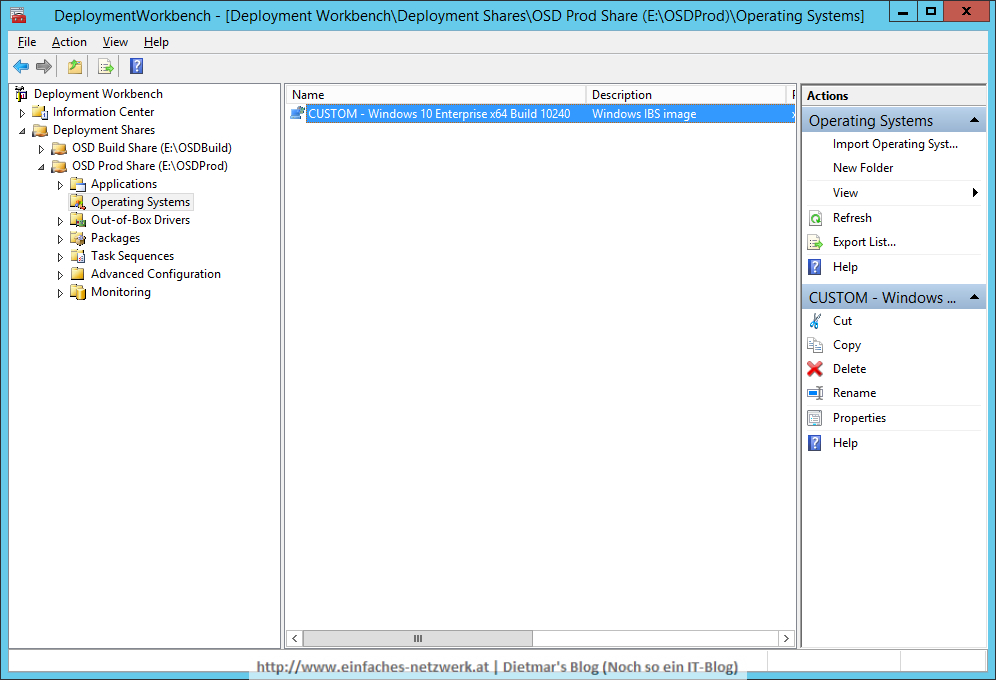
Betriebssystem hinzufügen
Die detaillierte Anleitung siehe Betriebssystem zur Deployment Workbench hinzufügen
- Folgendes Betriebssystem hinzufügen
- OS Type
- Custom image file
- Image
- Source: E:\OSDBuild\Captures\W10240X64-001.wim
- Setup
- Copy setup files from specified path: E:\OSDBuild\Operating Systems\W10240X64
- Destination
- Destination directory name: Windows 10 Enterprise x64 Build 10240
- Das importierte Image umbenennen nach CUSTOM – Windows 10 Enterprise x64 Build 10240
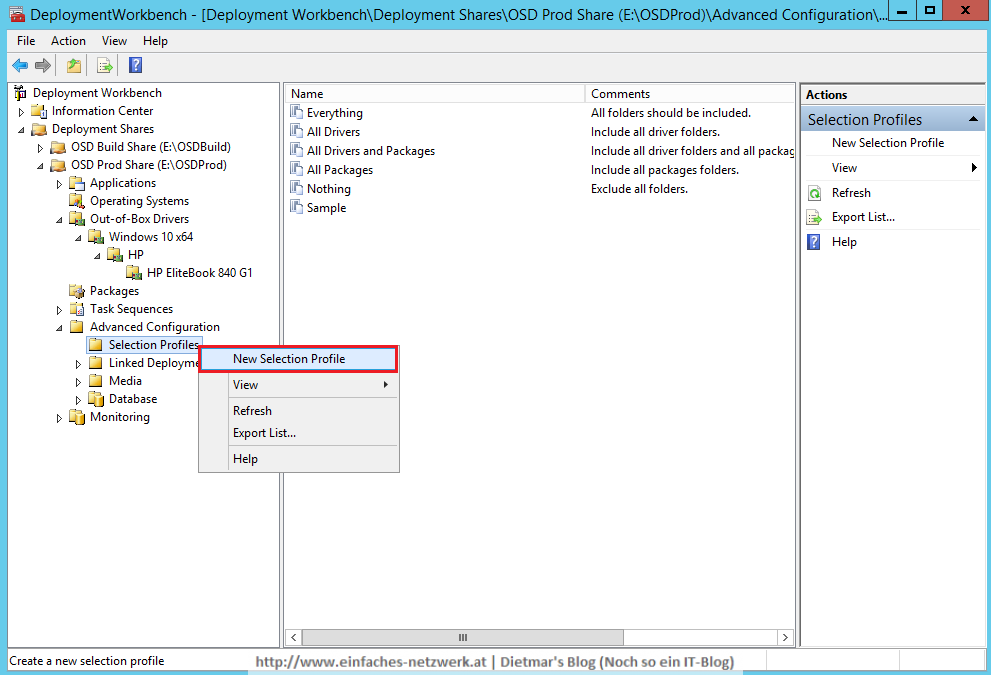
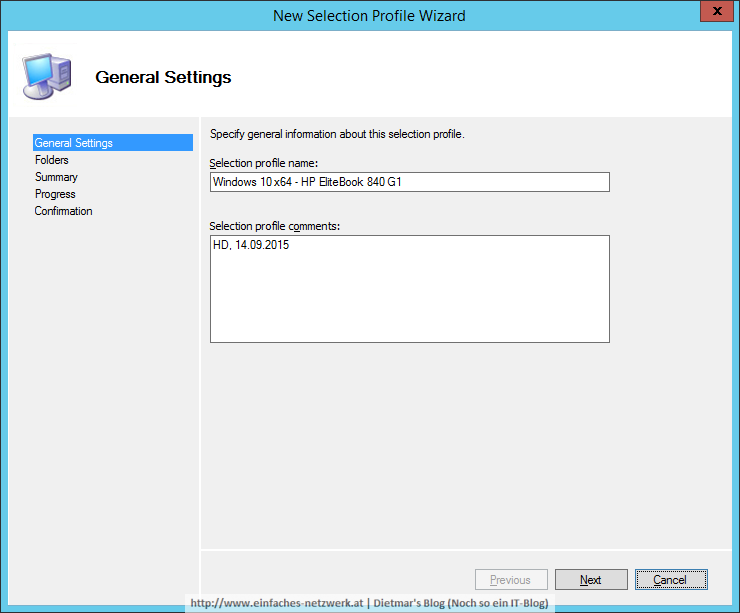
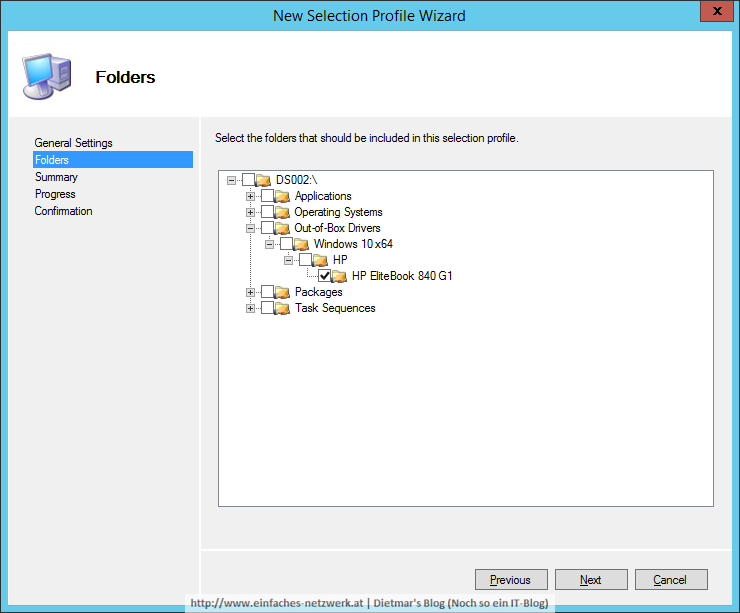
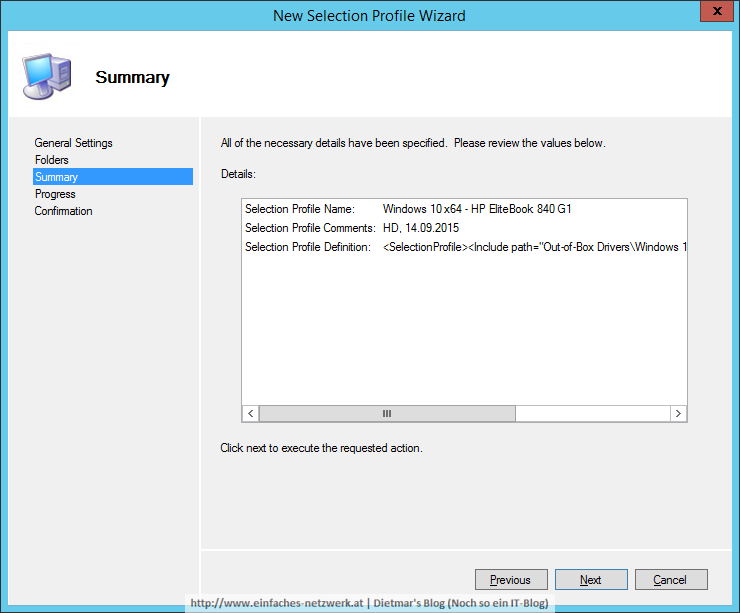
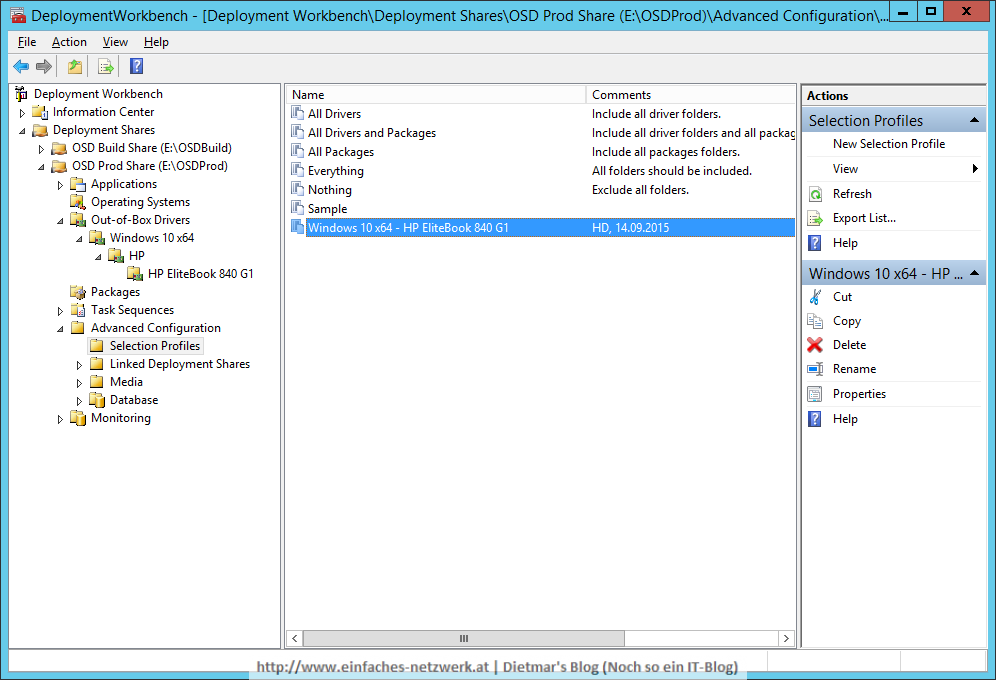
Im nächsten Teil werde ich Treiber importieren und ein Selection Profile erstellen.
Teil 10: OSDProd Deployment Share erstellen was last modified: September 14th, 2015 by Dietmar Haimann