Teil 10f: Windows 10-Image mit MDT verteilen

In diesem Teil werde ich nun endlich das Windows 10-Image mit MDT verteilen. Dazu starte ich meinen Rechner mit Hilfe von PXE vom Netzwerk (siehe Deployment Server MDT1 vorbereiten und Boot-Image zu WDS hinzufügen). Nach Eingabe weniger Informationen wird mein Windows 10-Image installiert.

Windows 10-Image mit MDT verteilen

  1. Rechner einschalten
  2. Unmittelbar die F12-Taste drücken, um vom Netzwerk zu starten
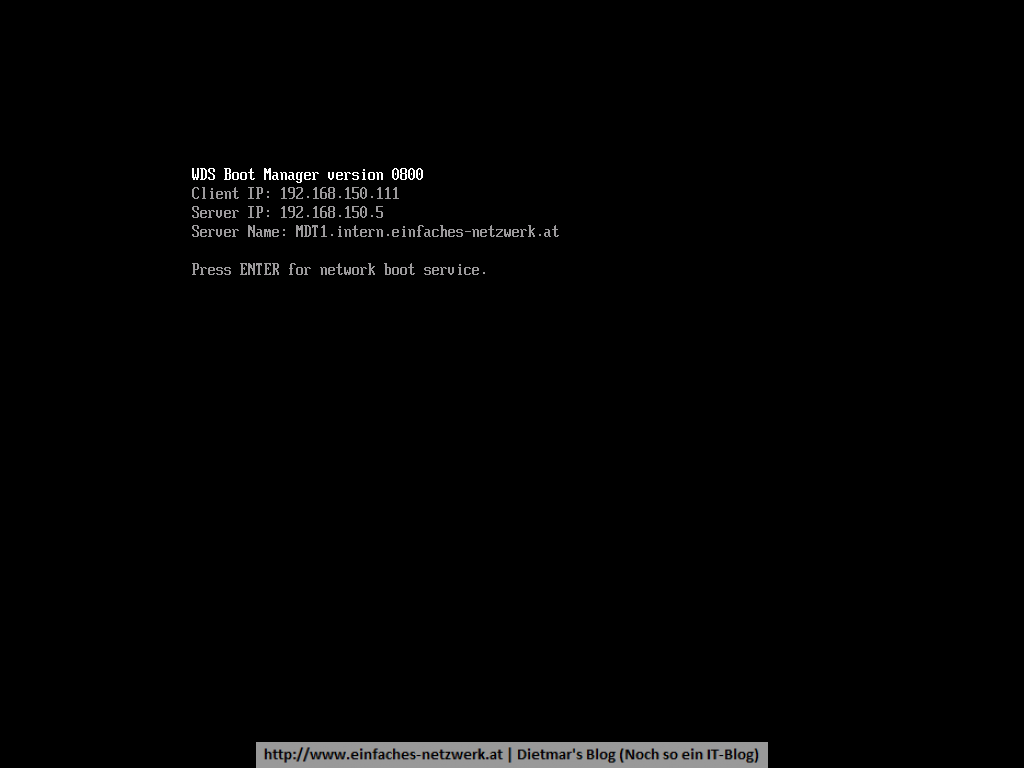
    DEPLOY_WIN10-001
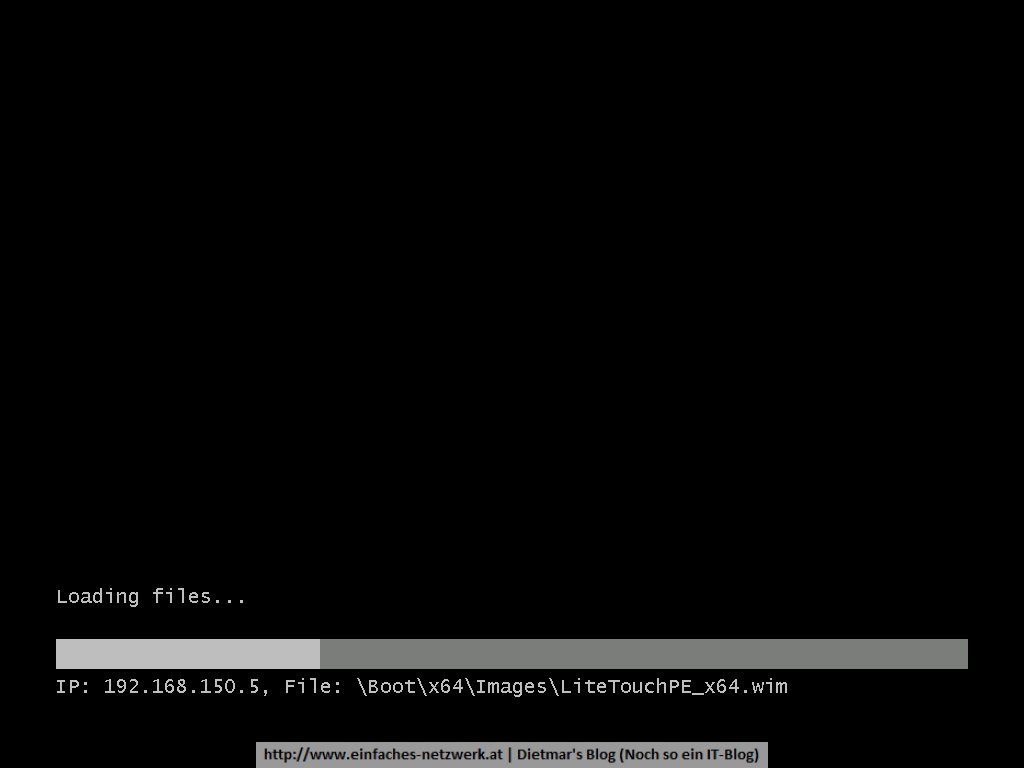
  3. LiteTouchPE_x64.wim wird vom WDS (MDT1) in den Hauptspeicher geladenDEPLOY_WIN10-002
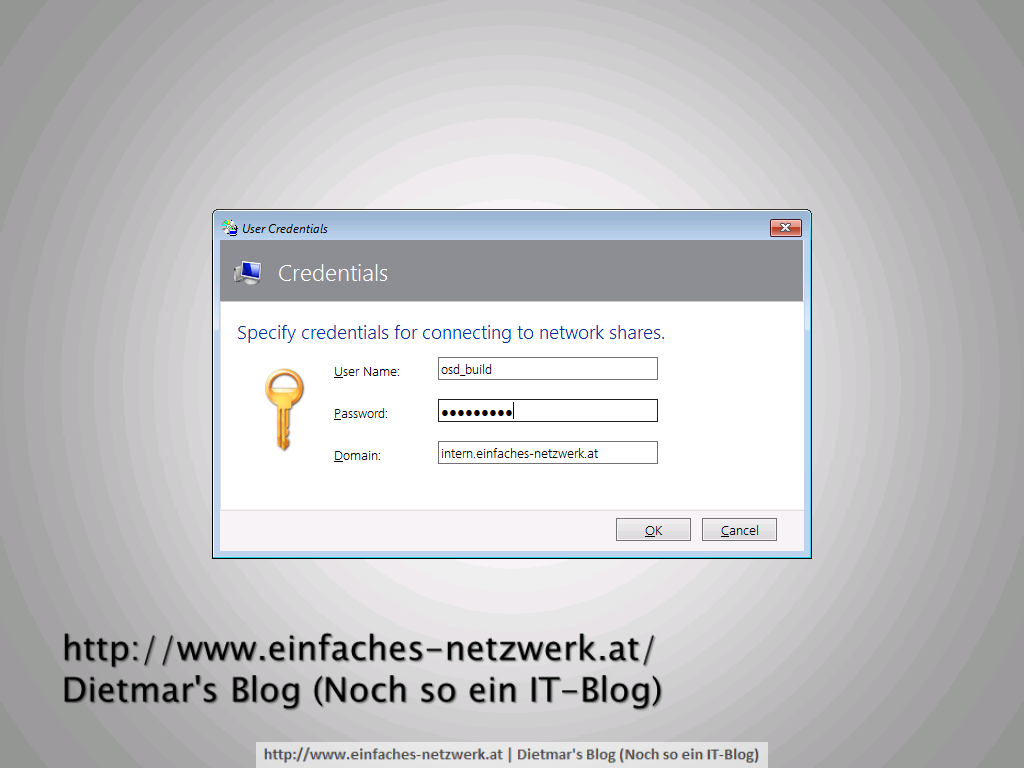
  4. User Credentials
    1. Password: Password1
      DEPLOY_WIN10-003
  5. Deployment Wizard
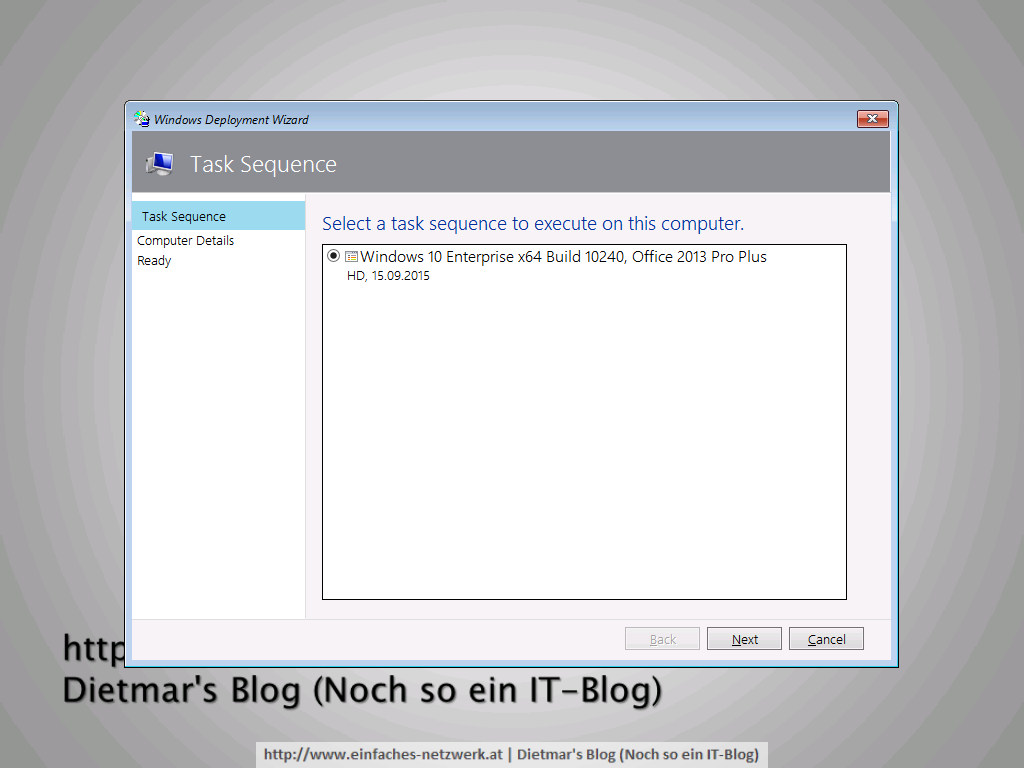
    1. Task Sequence
      1. Windows 10 Enterprise x64 Build 10240, Office 2013 Pro Plus > Next
        DEPLOY_WIN10-004
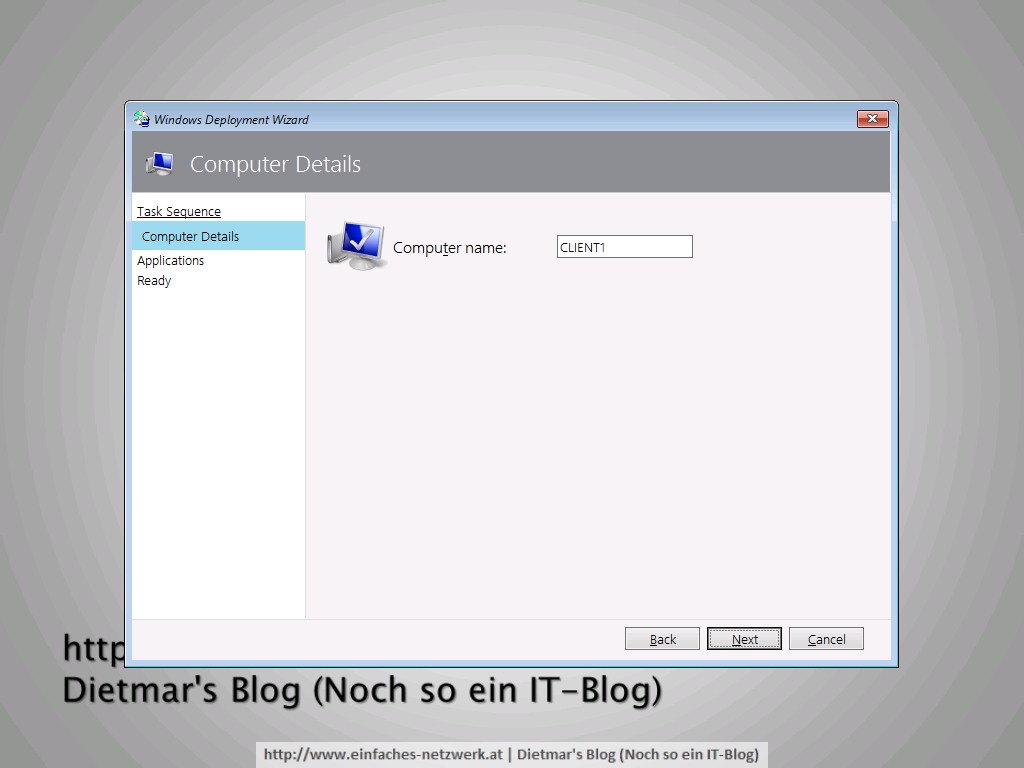
    2. Computer Details
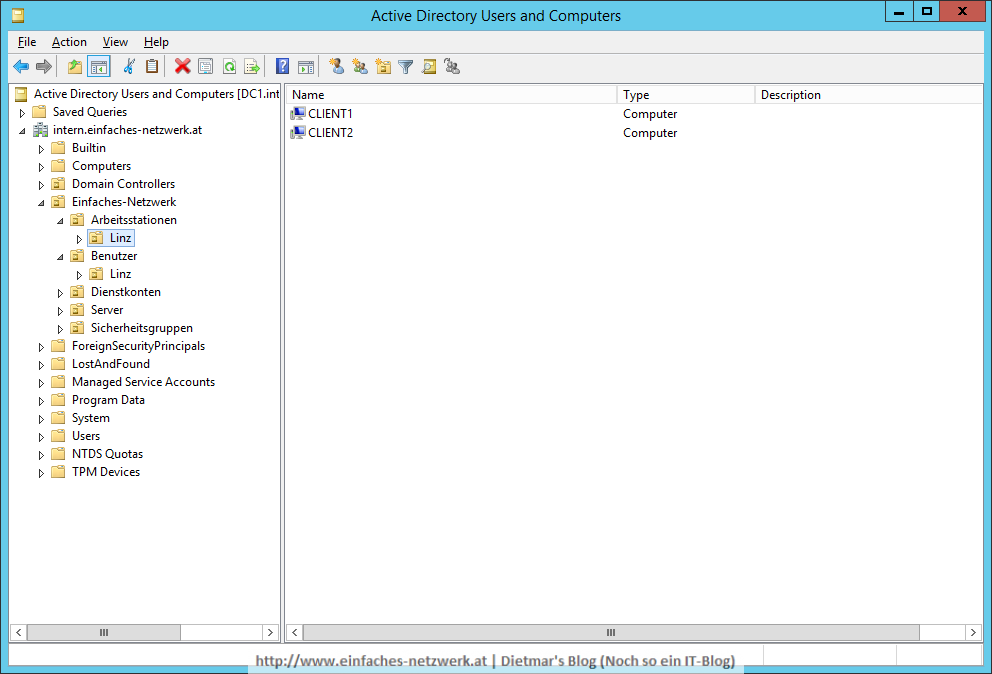
      1. Computer name: CLIENT1 > Next
        DEPLOY_WIN10-005
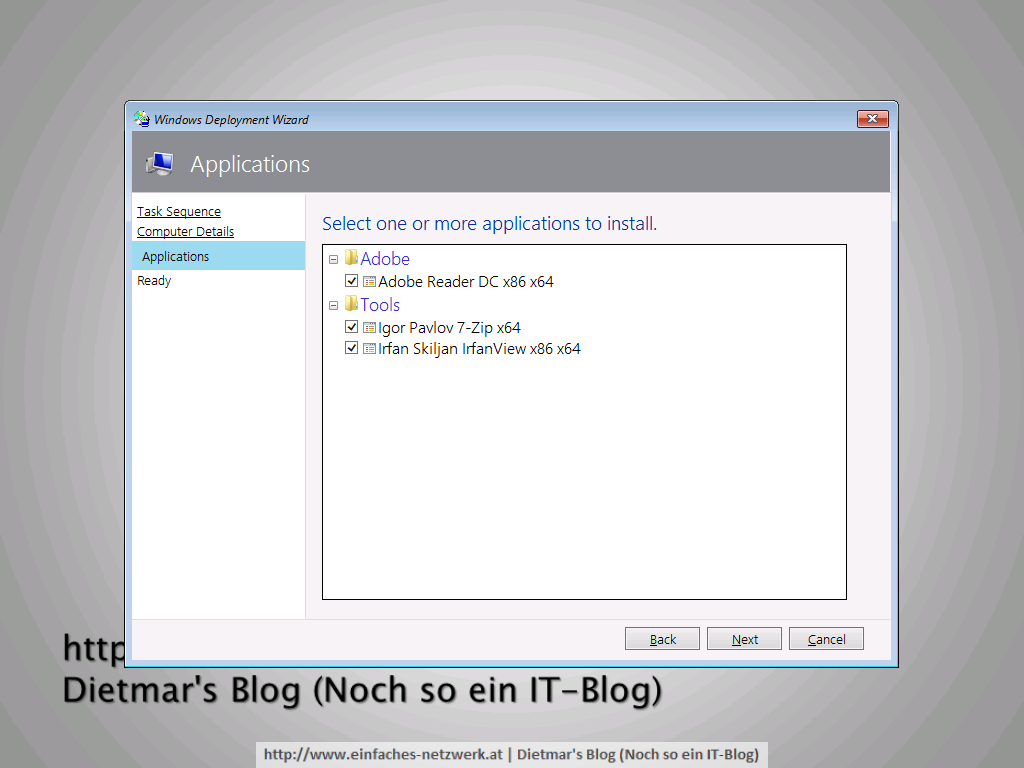
    3. Applications: Alles aktivieren > Next
      DEPLOY_WIN10-006
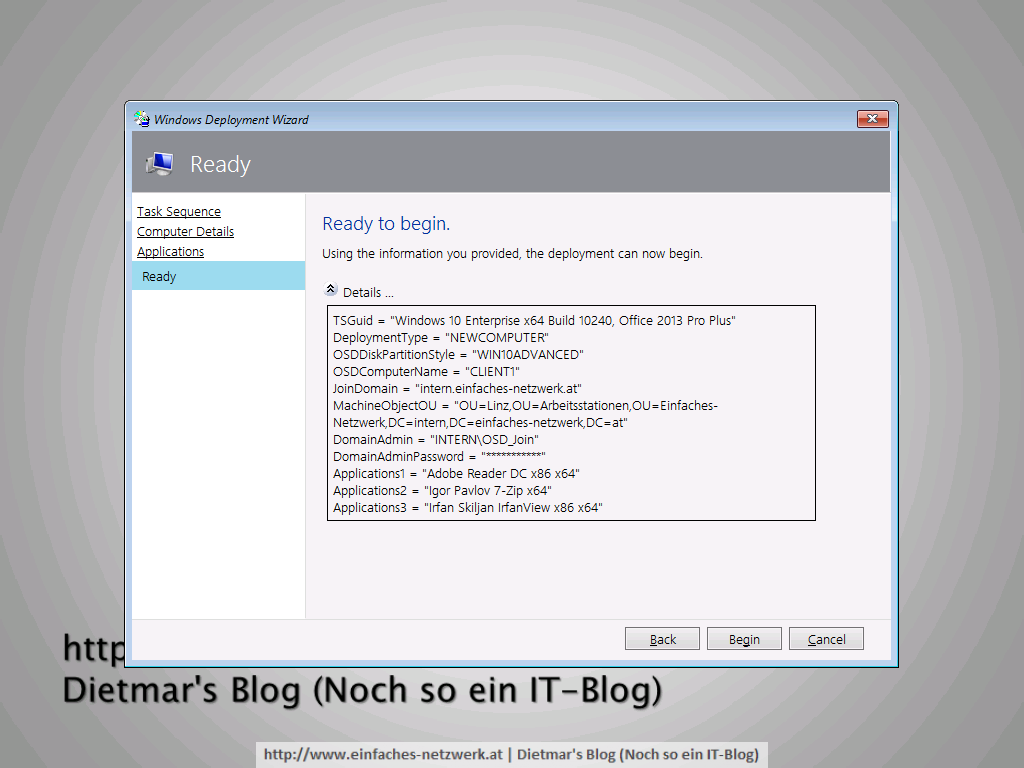
    4. Ready > Begin
      DEPLOY_WIN10-007
  6. Die Task Sequence beginnt …
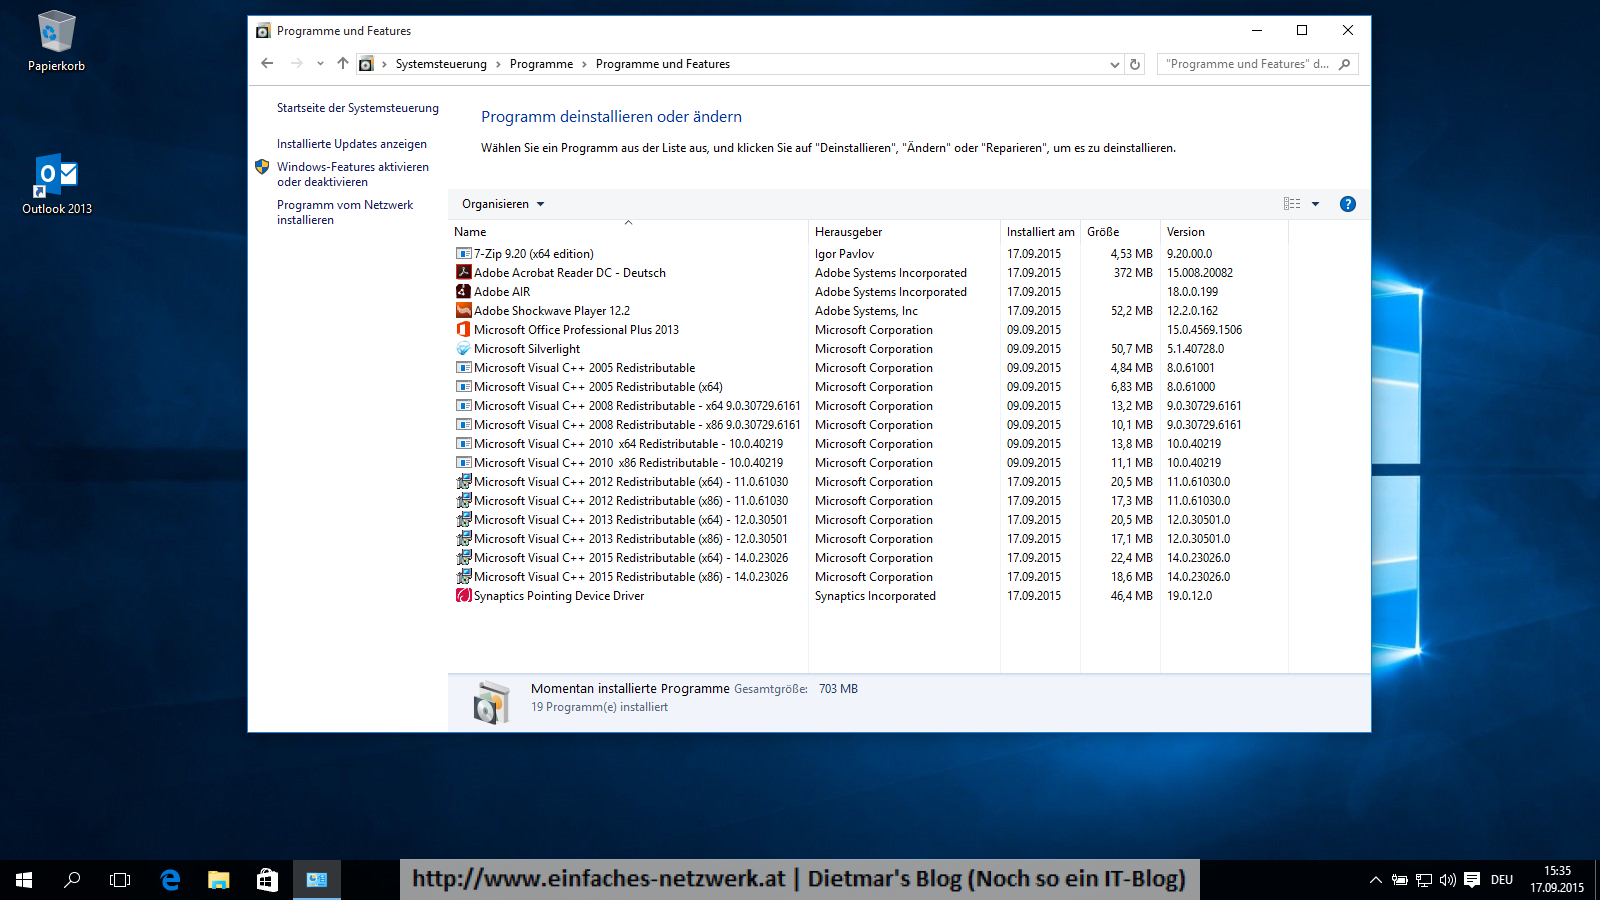
  7. Nach einer kurzen Kaffeepause ist Windows 10 installiert > Finish
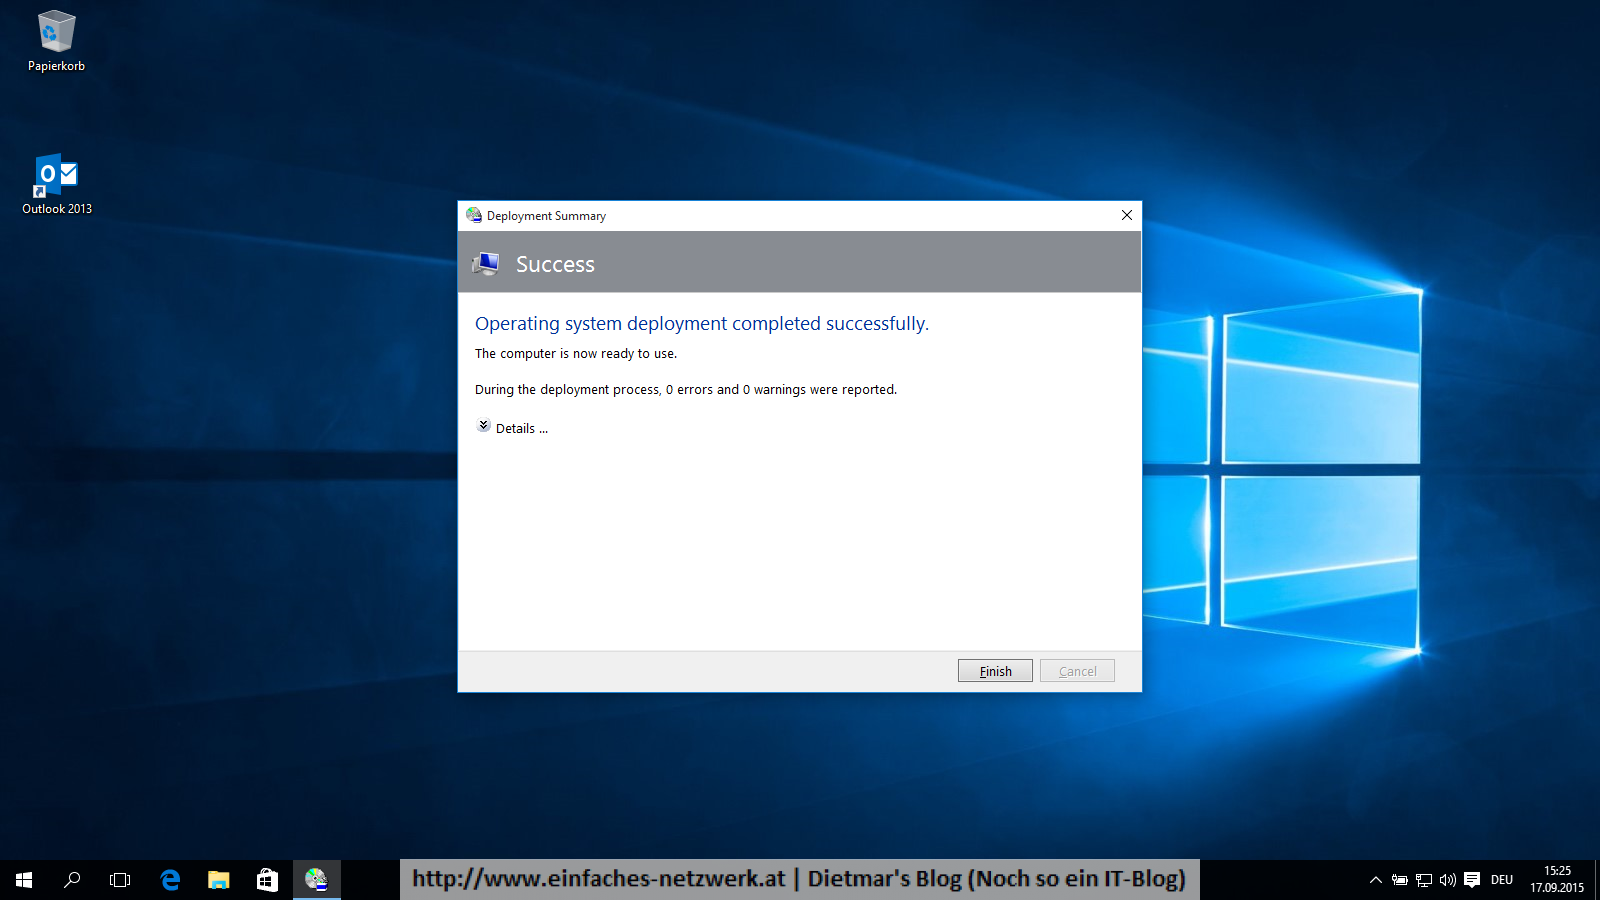
    DEPLOY_WIN10-008
  8. Der Rechner wird neu gestartet

Installation kurz überprüfen

Weitere Informationen
Teil 10d: OSD Prod Share konfigurieren

In diesem Teil werde ich den OSD Prod Share konfigurieren (im Detail siehe CustomSettings.ini und Bootstrap.ini konfigurieren und Windows PE konfigurieren und Monitoring aktivieren).

CustomSettings.ini und Bootstrap.ini erstellen

  1. Als Administrator an MDT1 anmelden
  2. Deployment Workbench starten
  3. OSD Prod Share rechts anklicken > Properties
  4. Auf den Reiter Rules wechseln
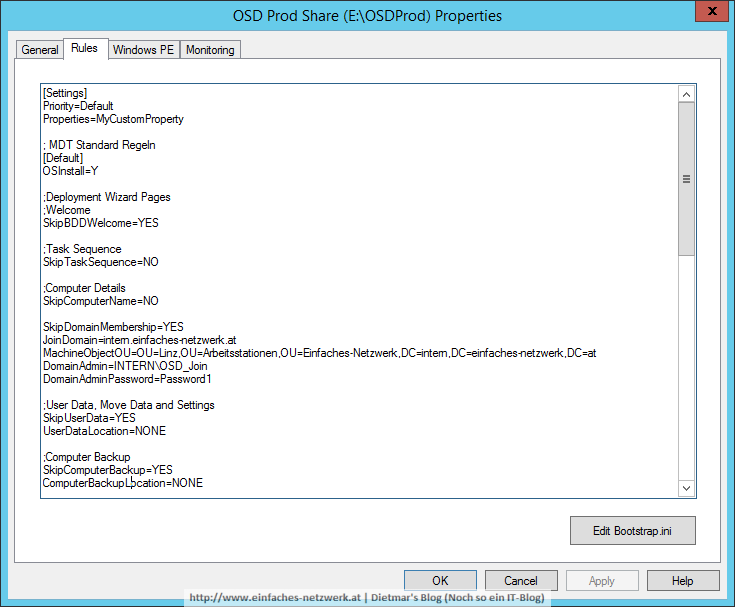
  5. Folgende CustomSettings.ini erstellen
    [Settings]
    Priority=Default
    Properties=MyCustomProperty
    
    ; MDT Standard Regeln
    [Default]
    OSInstall=Y
    
    ;Deployment Wizard Pages
    ;Welcome
    SkipBDDWelcome=YES
    
    ;Task Sequence
    SkipTaskSequence=NO
    
    ;Computer Details
    SkipComputerName=NO
    
    SkipDomainMembership=YES
    JoinDomain=intern.einfaches-netzwerk.at
    MachineObjectOU=OU=Linz,OU=Arbeitsstationen,OU=Einfaches-Netzwerk,DC=intern,DC=einfaches-netzwerk,DC=at
    DomainAdmin=OSD_Join
    DomainAdminPassword=Password1
    DomainAdminDomain=intern.einfaches-netzwerk.at
    
    ;User Data, Move Data and Settings
    SkipUserData=YES
    UserDataLocation=NONE
    
    ;Computer Backup
    SkipComputerBackup=YES
    ComputerBackupLocation=NONE
    
    ;Product Key
    SkipProductKey=YES
    
    ;Locale and Time
    SkipLocaleSelection=YES
    UserLocale=de-AT
    UILanguage=de-DE
    KeyboardLocale=de-DE
    KeyboardLocalePE=de-DE
    
    SkipTimeZone=YES
    TimeZoneName=W. Europe Standard Time
    
    ;Roles and Features
    SkipRoles=YES
    
    ;Applications
    SkipApplications=NO
    
    ;Administrator Password
    SkipAdminPassword=YES
    AdminPassword=Password1
    
    ;Local Administrators
    SkipAdminAccounts=YES
    
    ;Capture Image
    SkipCapture=YES
    DoCapture=NO
    
    ;Bitlocker
    SkipBitLocker=YES
    BDEInstallSuppress=YES
    
    ;Ready to begin
    SkipSummary=NO
    SkipFinalSummary=NO
    
    ApplyGPOPack=NO
    _SMSTSORGNAME = Dietmar's Blog | Noch so ein IT-Blog
    FinishAction=REBOOT
    
    ;Logging
    SLShare=\\MDT1\Logs$
    
  6. Edit Bootstrap.ini
  7. Folgende Bootstrap.ini erstellen
    
    [Settings]
    Priority=Default
    
    [Default]
    DeployRoot=\\MDT1\OSDProd$
    
    UserDomain=intern.einfaches-netzwerk.at
    UserID=osd_build
    
    KeyboardLocale=de-DE
    KeyboardLocalePE=de-DE
    
    SkipBDDWelcome=YES
    

    CONFIG_OSDPROD-001

  8. Auf den Reiter Windows PE wechseln

Windows PE konfigurieren und Monitoring aktivieren

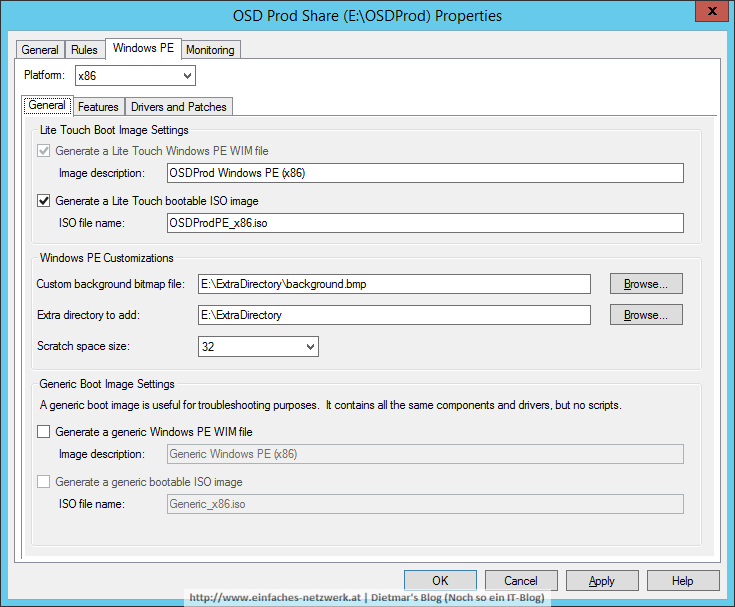
  1. Platform x86, Reiter General
    1. Image description: OSDProd Windows PE (x86)
    2. ISO file name: OSDProdPE_x86.iso
    3. Extra directory to add: E:\ExtraDirectory (siehe Ordner erstellen und Berechtigungen vergeben und CMTrace 64bit vorbereiten)
      CONFIG_OSDPROD-002
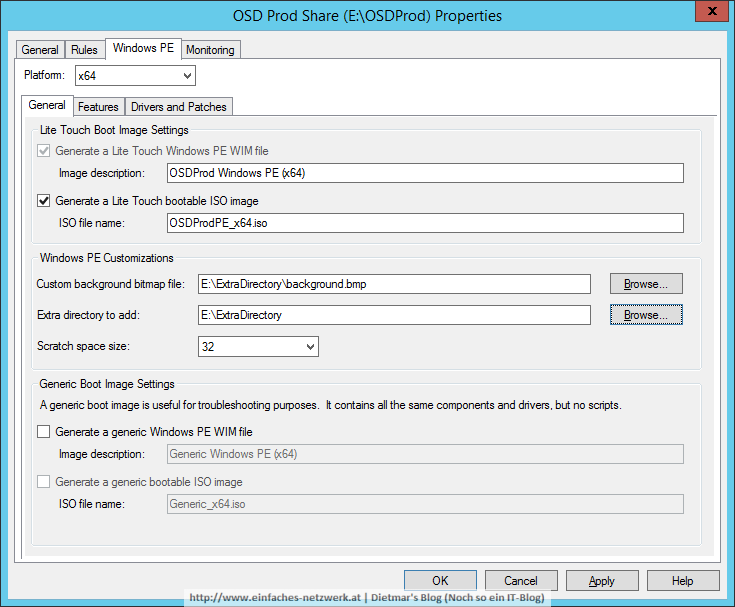
  2. Platform x64, Reiter General
    1. Image description: OSDProd Windows PE (x64)
    2. ISO file name: OSDProdPE_x64.iso
    3. Extra directory to add: E:\ExtraDirectory
      CONFIG_OSDPROD-003
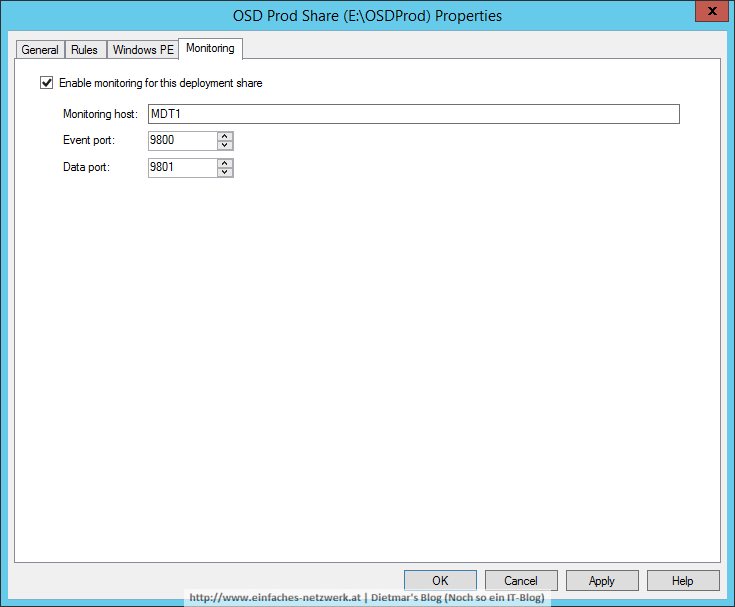
  3. Auf den Reiter Monitoring wechslen
  4. Enable monitoring for this deployment share aktivieren
    1. Monitoring host: MDT1
      CONFIG_OSDPROD-004
  5. Fenster mit OK schießen

Deployment Share updaten

  1. OSD Build Share rechts anklicken > Update Deployment Share
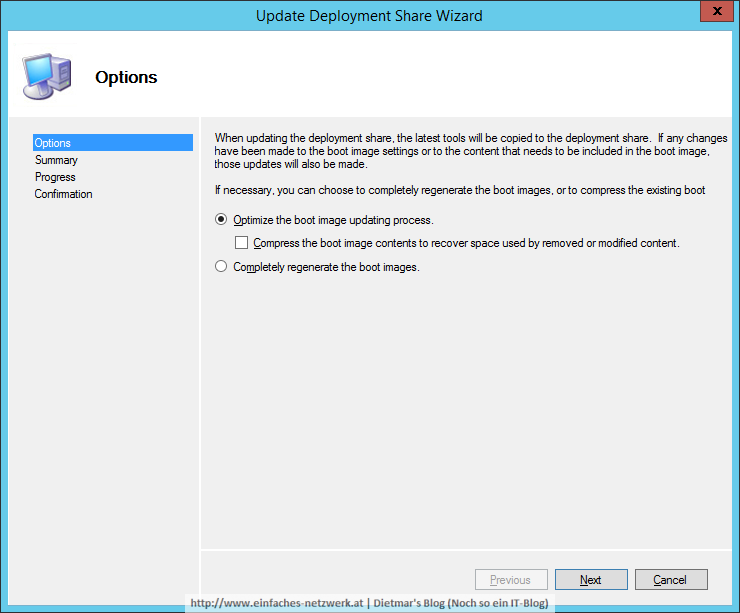
  2. Update Deployment Share Wizard
    1. Options
      1. Optimize the boot image updating process > Next
        OSDBUILDPE-005
    2. Summary > Next
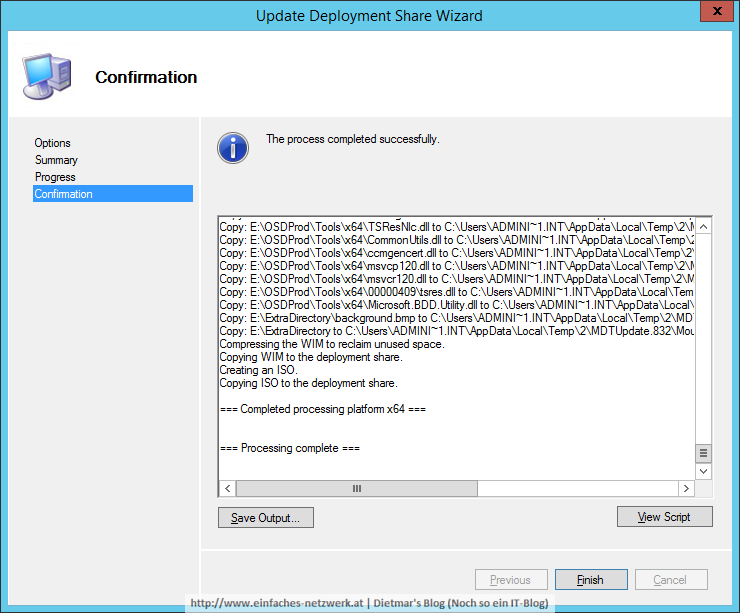
    3. Confirmation > Finish
      CONFIG_OSDPROD-005

Teil 10c: Task Sequence zum OSD Prod Share hinzufügen

In diesem Teil werde ich eine Task Sequence zum OSD Prod Share hinzufügen und konfigurieren, ähnlich Task Sequence zur Deployment Workbench hinzufügen und Task Sequence konfigurieren.

Task Sequence zum OSD Prod Share hinzufügen

  1. Als Administrator an MDT1 anmelden
  2. Deployment Workbench starten
  3. OSD Prod Share erweitern
  4. Folgende Task Sequence hinzufügen
    1. General Settings
      1. Task sequence ID: W10240X64-001
      2. Task sequence name: Windows 10 x64 Enterprise x64 Build 10240, Office 2013 Pro Plus
    2. Select Template
      1. Template: Standard Client Task Sequence
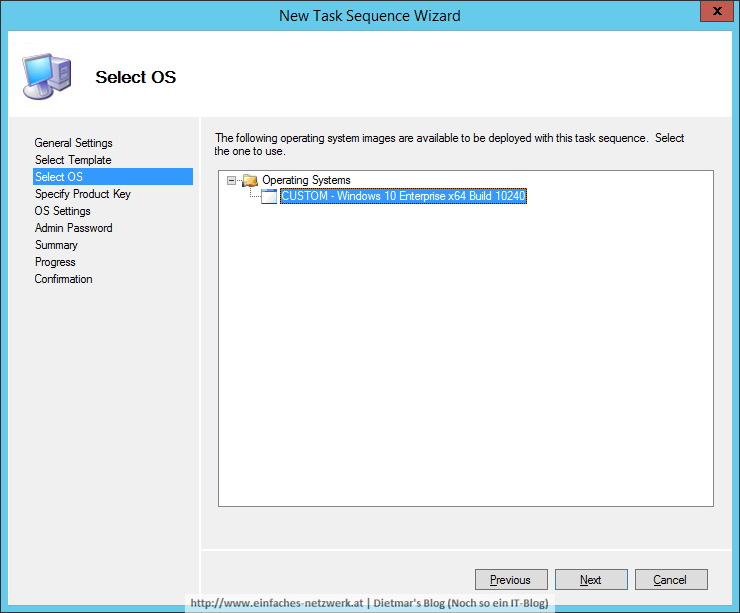
    3. Select OS
      1. CUSTOM – Windows 10 Enterprise x64 Build 10240
        TS_PROD-001
    4. OS Settings
      1. Full name: Einfaches Netzwerk
      2. Organization: Einfaches Netzwerk
      3. Internet Explorer Home Page: about:blank
    5. Admin Password
      1. Password: Password1
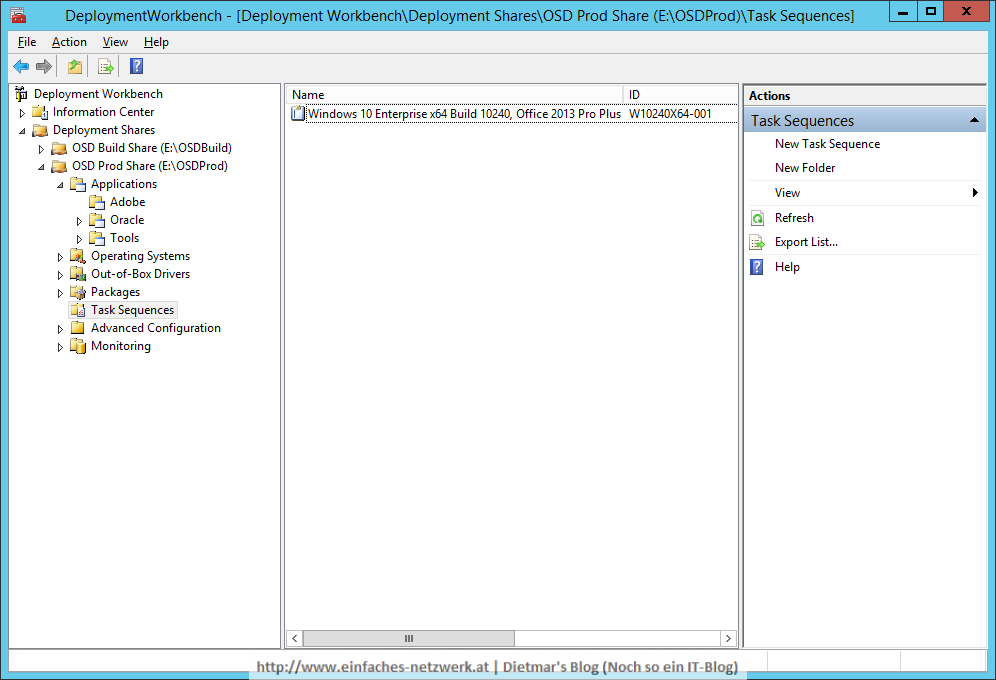
  5. Die Task Sequence in der Deployment Workbench
    TS_PROD-008

Task Sequence konfigurieren

  1. Task Sequence wie folgt konfigurieren
    1. Phase Preinstall
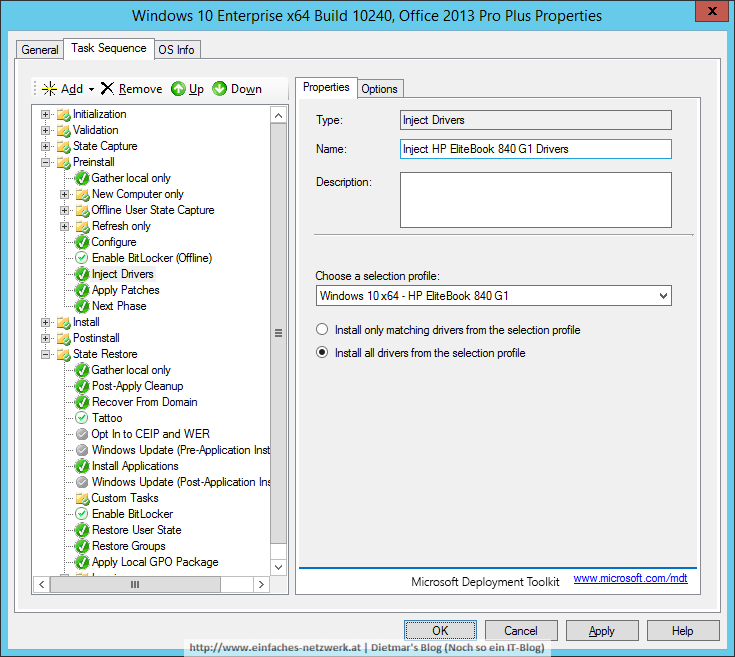
      1. Inject Drivers wie folgt anpassen
        1. Name: Inject HP EliteBook 840 G1 Drivers
        2. Selection Profile: Windows 10 x64 – HP EliteBook 840 G1
        3. Install all drivers from the selection profile
          TS_PROD-003
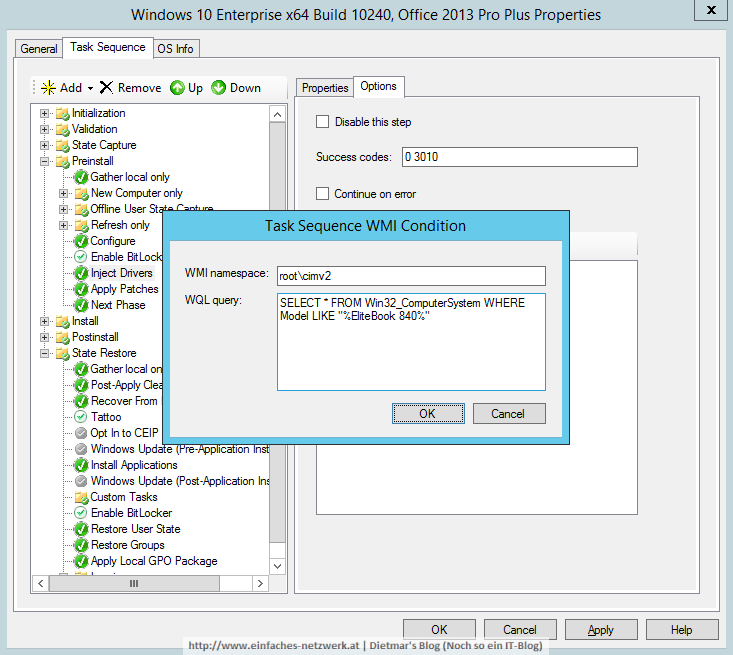
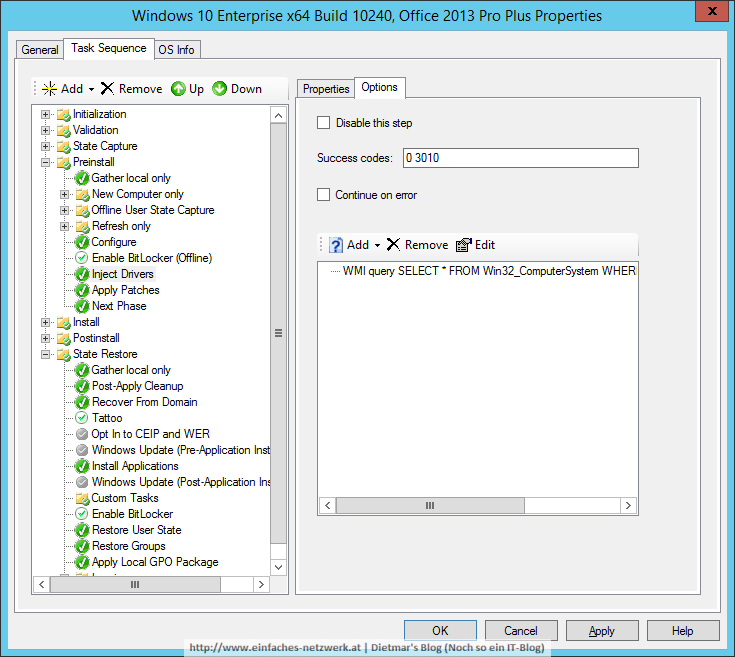
        4. Als Bedingung folgende WMI query hinzufügen
          SELECT * FROM Win32_ComputerSystem WHERE Model LIKE "%EliteBook 840%"

          TS_PROD-004
          TS_PROD-005

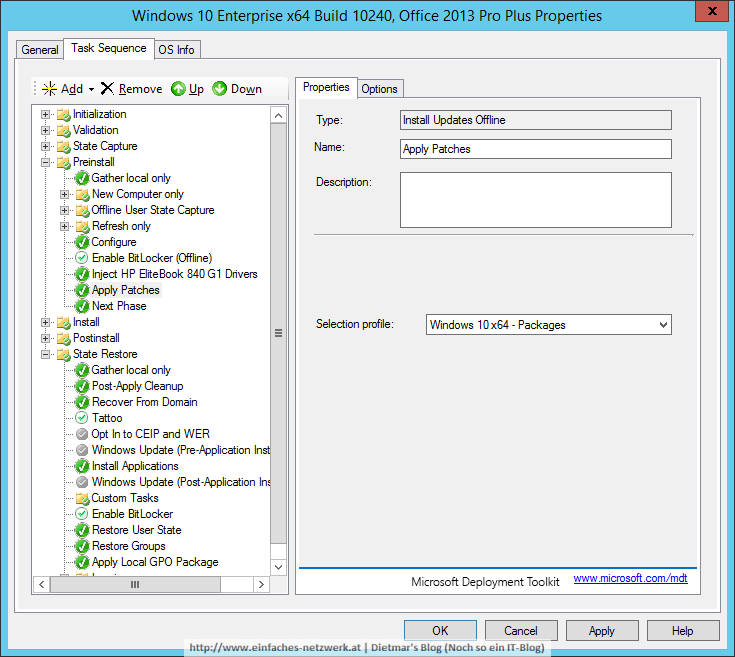
      2. Apply Patches wie folgt anpassen
        1. Selection Profile: Windows 10 x64 – Packages
          TS_PROD-006
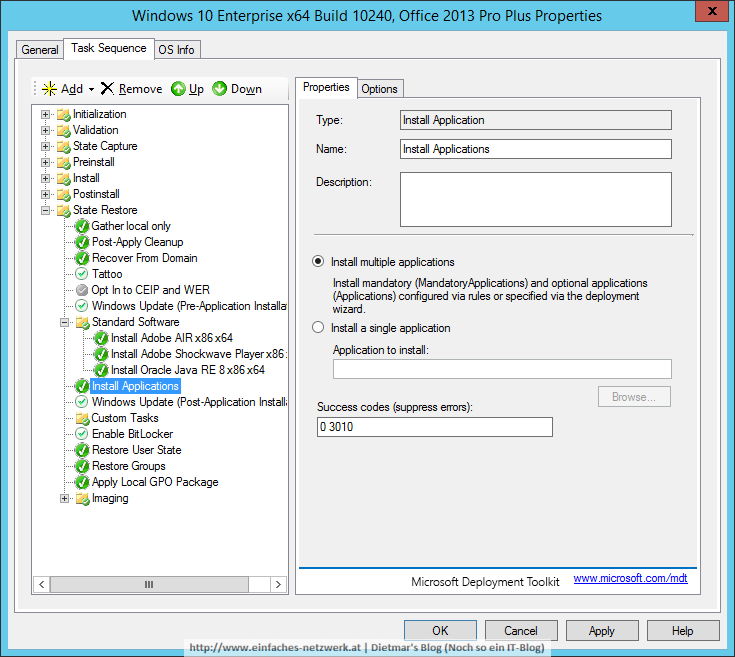
    2. Phase State Restore
      1. Windows Update (Pre-Application Installation) aktivieren
      2. Gleich danach die Gruppe Standard Software erstellen
      3. Folgende Applications zur Gruppe Standard Software hinzufügen
        1. Adobe AIR x86 x64
        2. Adobe Shockwave Player x86 x64
        3. Oracle Java RE 8 x86 x64
      4. Windows Update (Post-Application Installation) aktivieren
        TS_PROD-007
  2. Fenster mit OK schließen