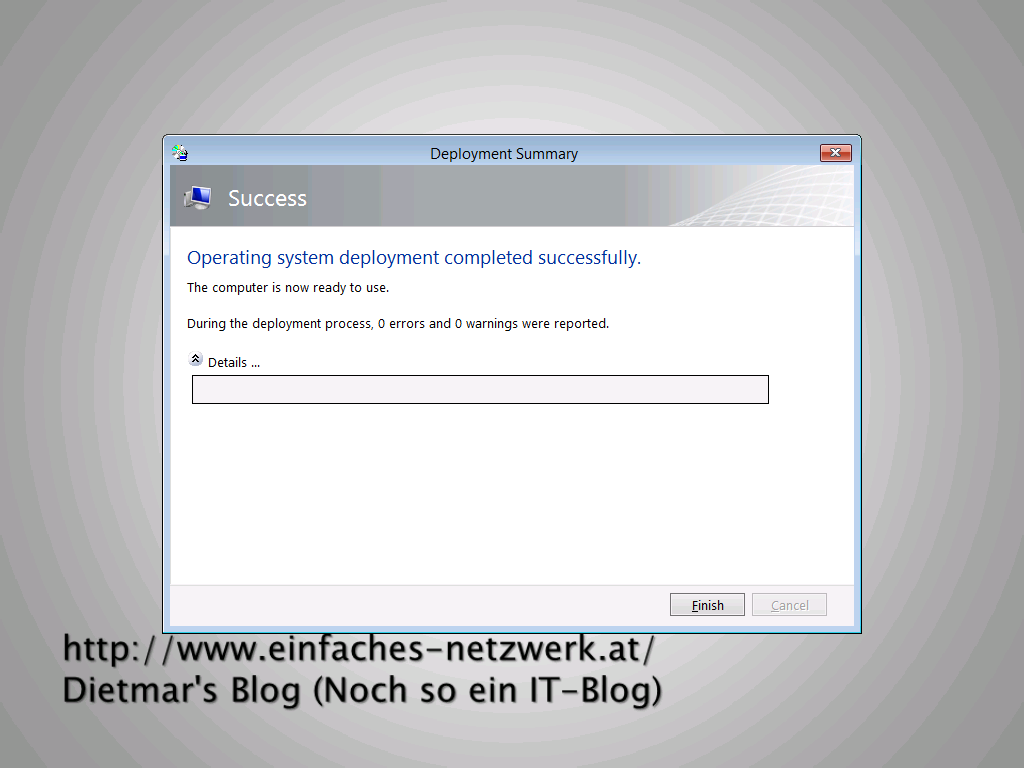
In diesem Teil werde ich Windows 7, die Standardsoftware und notwendigen Updates zum OSD Build Share hinzufügen. Im Anschluss werde ich das Windows 7-Image mit MDT erstellen. Voraussetung dafür ist, dass MDT wie beschrieben vorbereitet ist (siehe Kapitel ADK / MDT / Operating System Deployment).
Inhalte zum OSD Build Share hinzufügen
- Als Administrator an MDT1 anmelden
- Deployment Workbench starten
- OSD Build Share erweitern
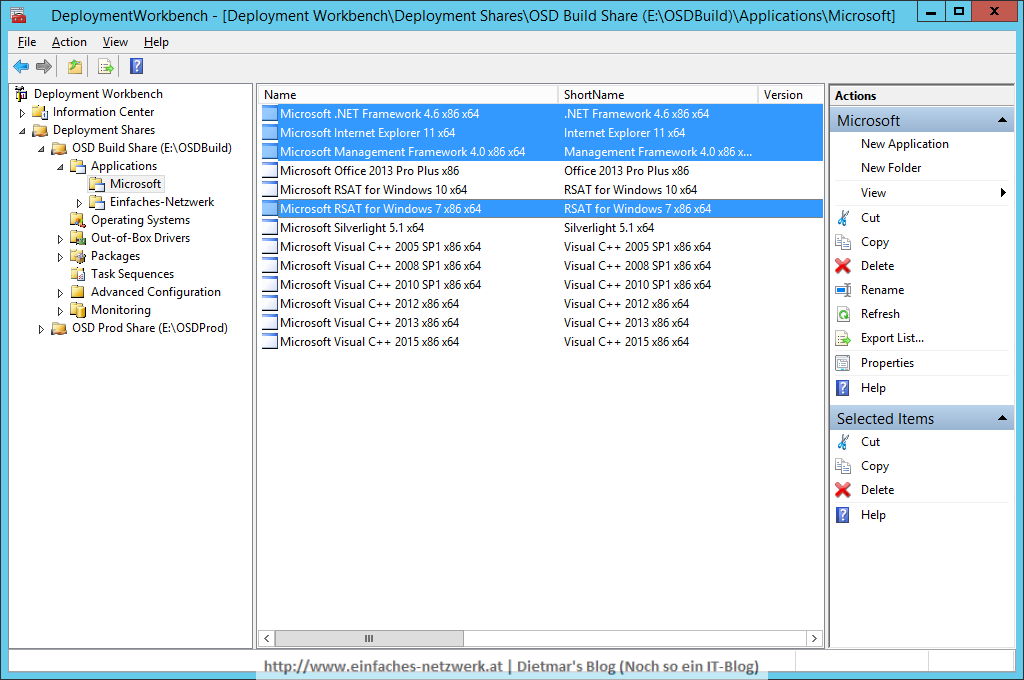
- Folgende Software zu Application\Microsoft hinzufügen
- Microsoft .NET Framework 4.6
- Microsoft Management Framework 4.0
- Microsoft RSAT for Windows 7
- Microsoft Internet Explorer 11
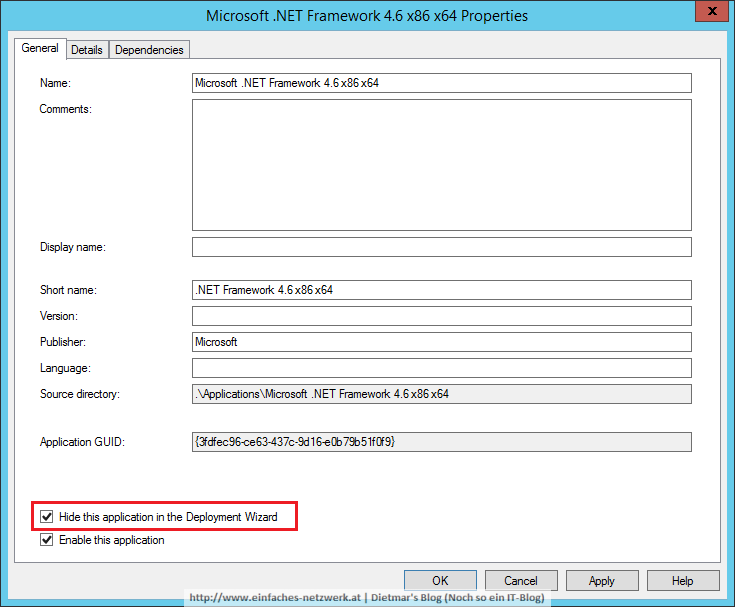
- Bei allen Applications den Punkt Hide this application in the Deployment Wizard aktivieren
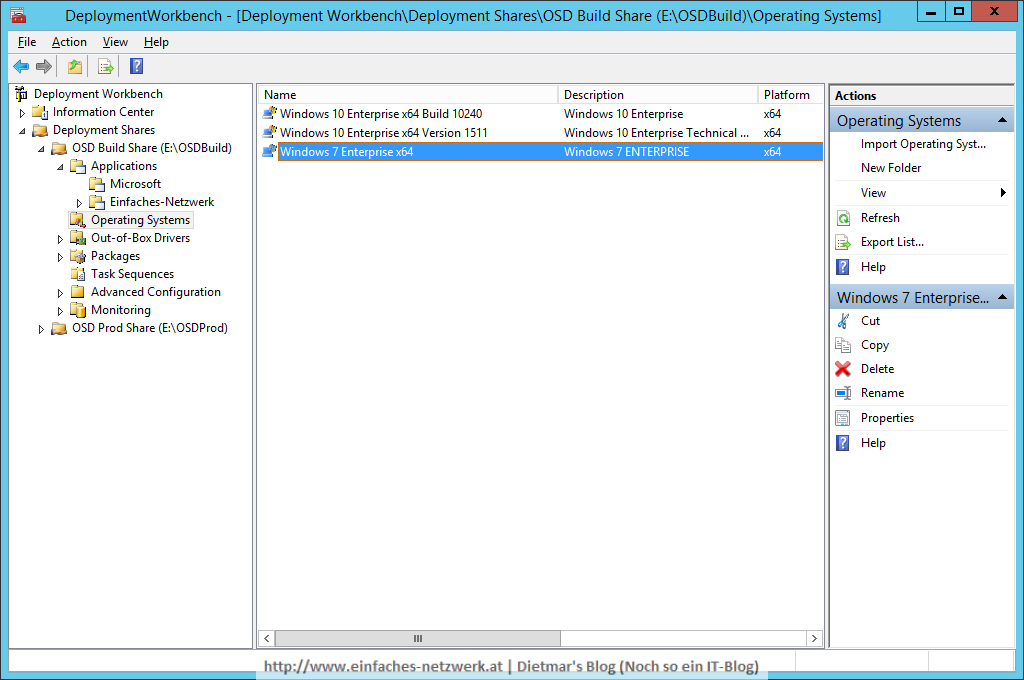
- Windows 7 zu Operating Systems hinzufügen
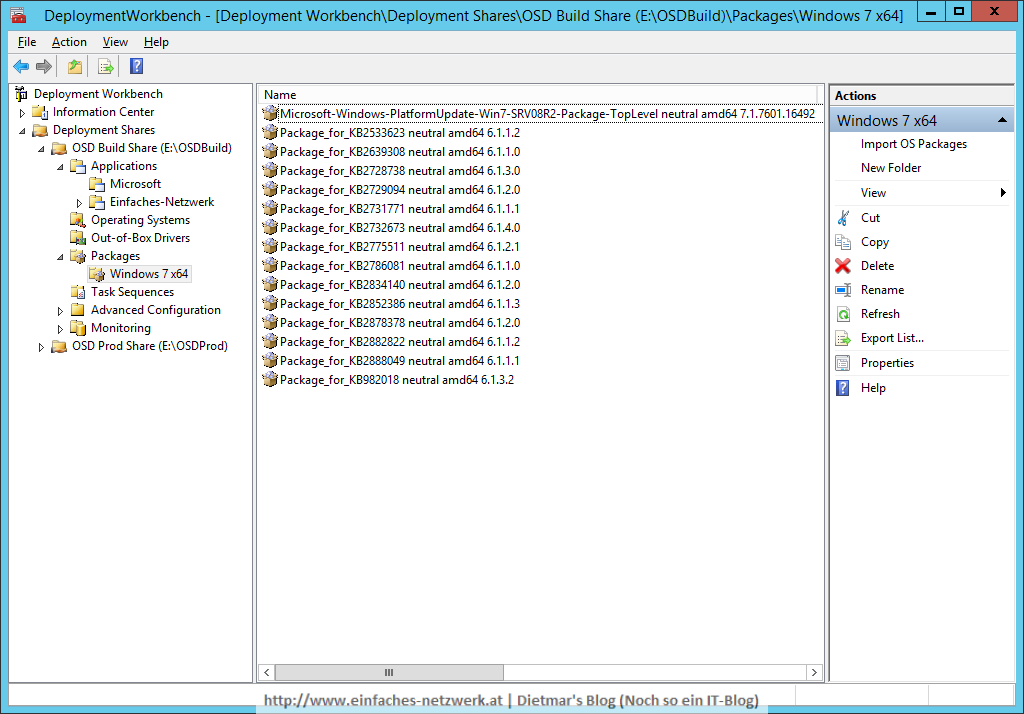
- Unter Packages den Ordner Windows 7 x64 erstellen
- Die Windows 7 x64-Updates importieren
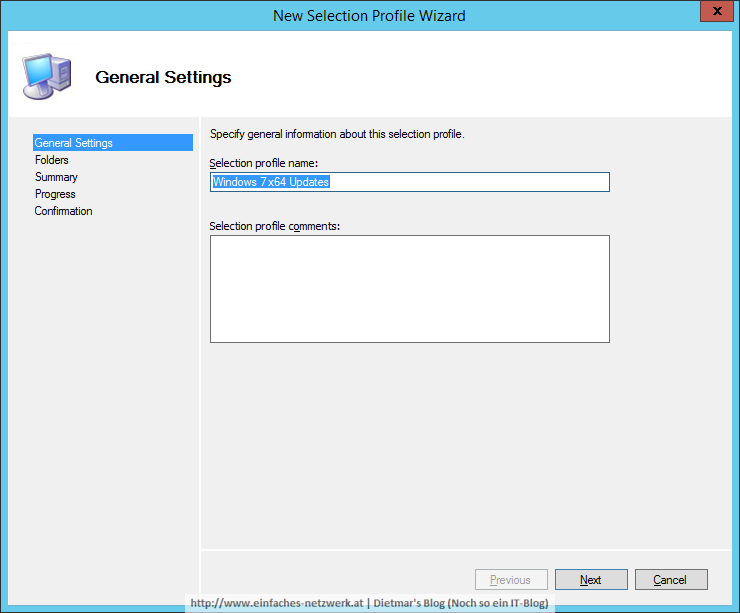
- Unter Advanced Configuration\Selected Profiles folgendes Profil erstellen
- Windows 7 x64 Updates
- Selection profile name: Windows 7 x64 Updates
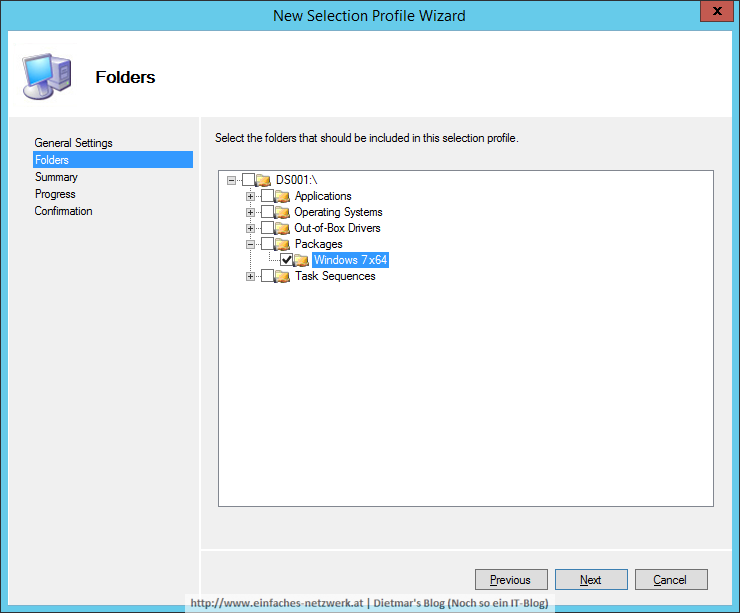
- Folders: Packages\Windows 7 x64
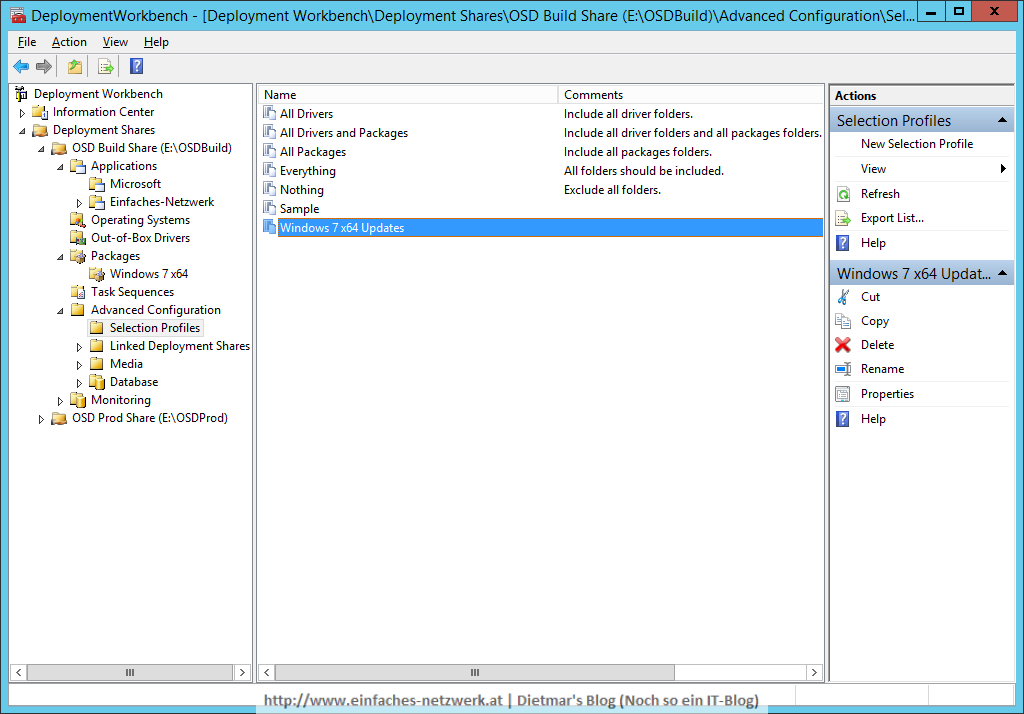
- Selection profile name: Windows 7 x64 Updates
- Windows 7 x64 Updates
Task Sequence erstellen und konfigurieren
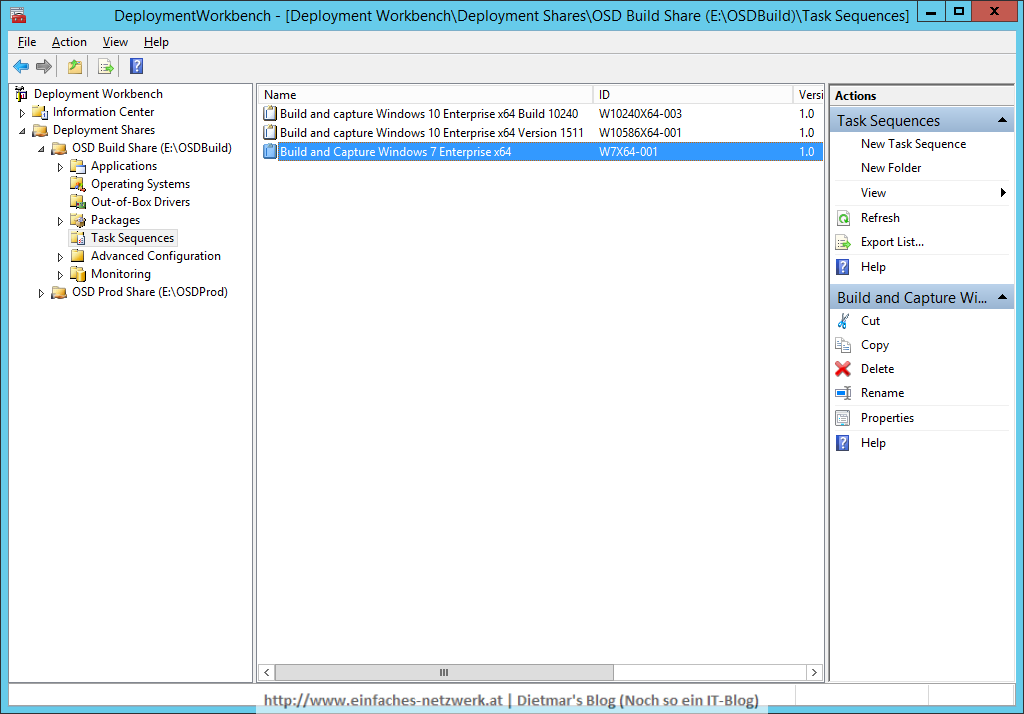
- Folgende Task Sequence hinzufügen
- General Settings
- Task sequence ID: W7X64-001
- Task sequence name: Build and Capture Windows 7 Enterprise x64
- Select template: Standard Client Task Sequence
- Select OS: Windows 7 Enterprise x64
- Specify Product Key > Next
- OS Settings
- Full name: Einfaches-Netzwerk
- Organization: Einfaches-Netzwerk
- Internet Explorer Home Page: about:blank
- Admin Password: Password1
- General Settings
- Task Sequence zum Bearbeiten öffnen und wie folgt anpassen
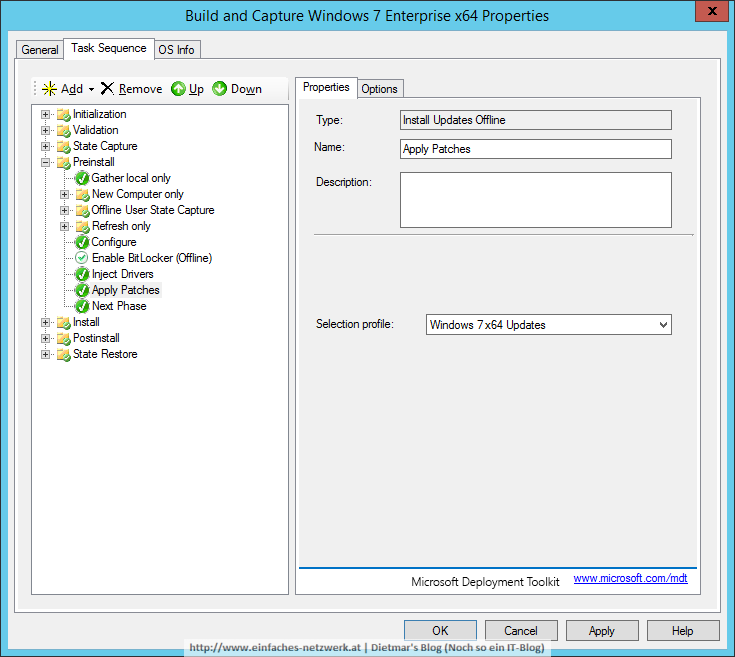
- Phase Preinstall
- Schritt Apply Patches
- Selection Profile: Windows 7 x64 Updates
- Selection Profile: Windows 7 x64 Updates
- Schritt Apply Patches
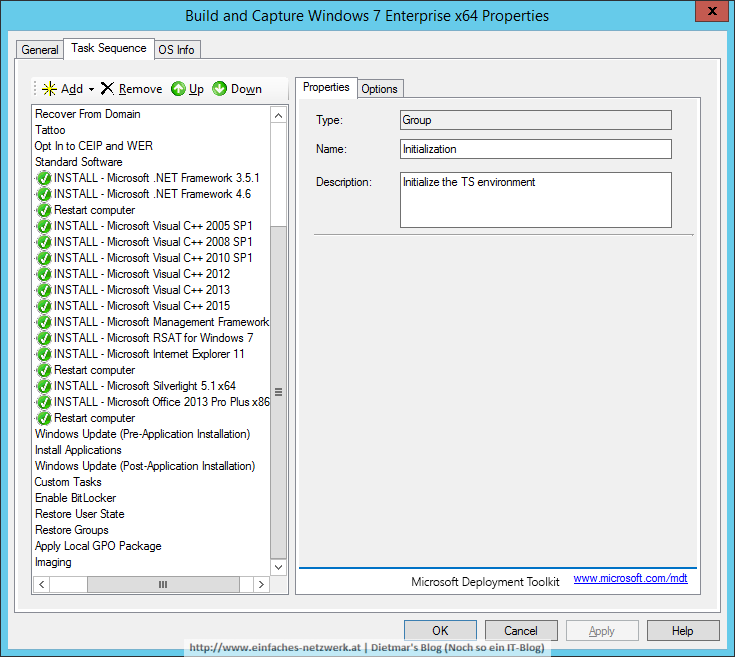
- Phase State Restore
- Schritte Windows Update aktivieren
- Ordner Standard Software erstellen
- Folgende Schritte zum Ordner Standard Software hinzufügen
- Install Roles and Features for Windows 7
- .NET Framework 3.5.1
- Telnet Client
- INSTALL – Microsoft .NET Framework 4.6
- Restart Computer
- Install Application
- INSTALL – Microsoft Visual C++ 2005 SP1
- INSTALL – Microsoft Vusial C++ 2008 SP1
- INSTALL – Microsoft Visual C++ 2010 SP1
- INSTALL – Microsoft Visual C++ 2012
- INSTALL – Microsoft Visual C++ 2013
- INSTALL – Microsoft Visual C++ 2015
- INSTALL – Microsoft Management Framework 4.0
- INSTALL – Microsoft RSAT for Windows 7
- INSTALL – Microsoft Internet Explorer 11
- Restart Computer
- Install Application
- INSTALL – Microsoft Silverlight 5.1
- INSTALL – Microsoft Office 2013 Pro Plus x86
- Restart Computer
- Windows Update (Pre-Application Installation) aktivieren
- Windows Update (Post-Application Installation) aktivieren
- Install Roles and Features for Windows 7
- Phase Preinstall
- Änderungen mit Apply übernehmen
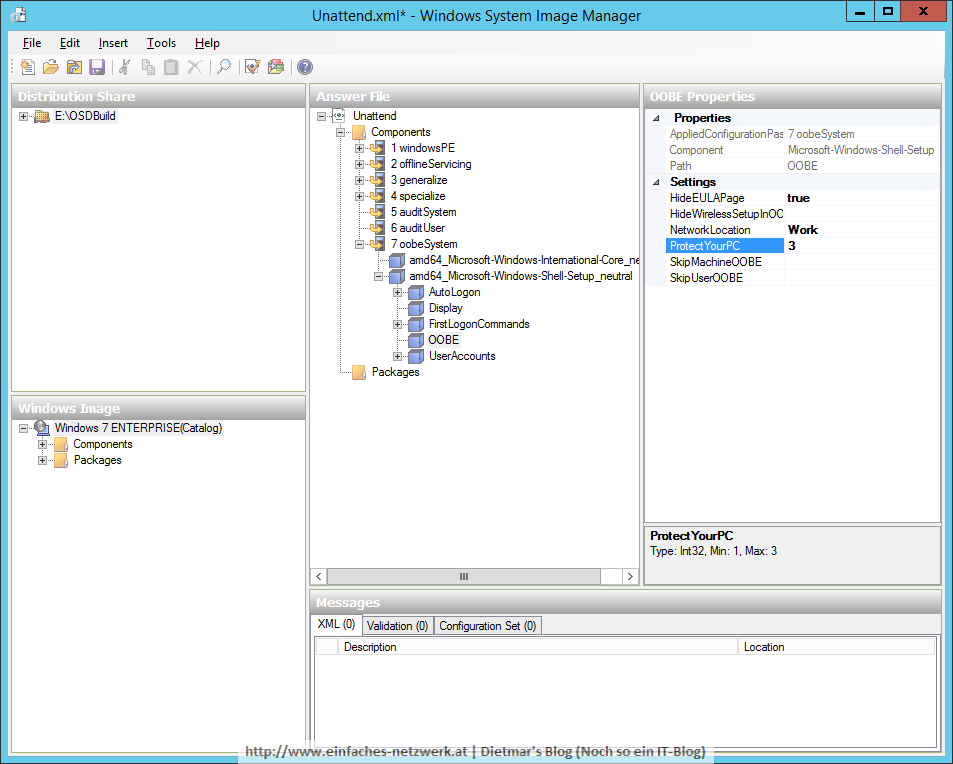
Automatisches Windows Update in der Unattend.xml deaktivieren
- Auf den Reiter OS Info wechseln
- Auf Edit Unattend.xml klicken
- oobeSystem\amd64_Microsoft-Windows-Shell-Setup_neutral\OOBE erweitern
- Auf der rechten Seite den Wert ProtectYourPC auf 3 ändern
- Datei speichern
- Fenster schließen
- CustomSettings.ini und Bootstrap.ini wie im Teil CustomSettings.ini und Bootstrap.ini konfigurieren konfigurieren
Windows 7-Image mit MDT erstellen
Für die Erstellung des Windows 7-Images verwende ich eine einfache Generation 1 virtuelle Maschine auf meinem Hyper-V-Server (siehe Virtuelle Rechner erstellen und Windows 10-Image mit MDT erstellen).
- Mit der virtuellen Maschine Capture Windows verbinden
- Die ISO-Datei OSDBuildPE_x64.iso laden und den Rechner starten
- Deployment Wizard folgen
- Computername: W7X64-001
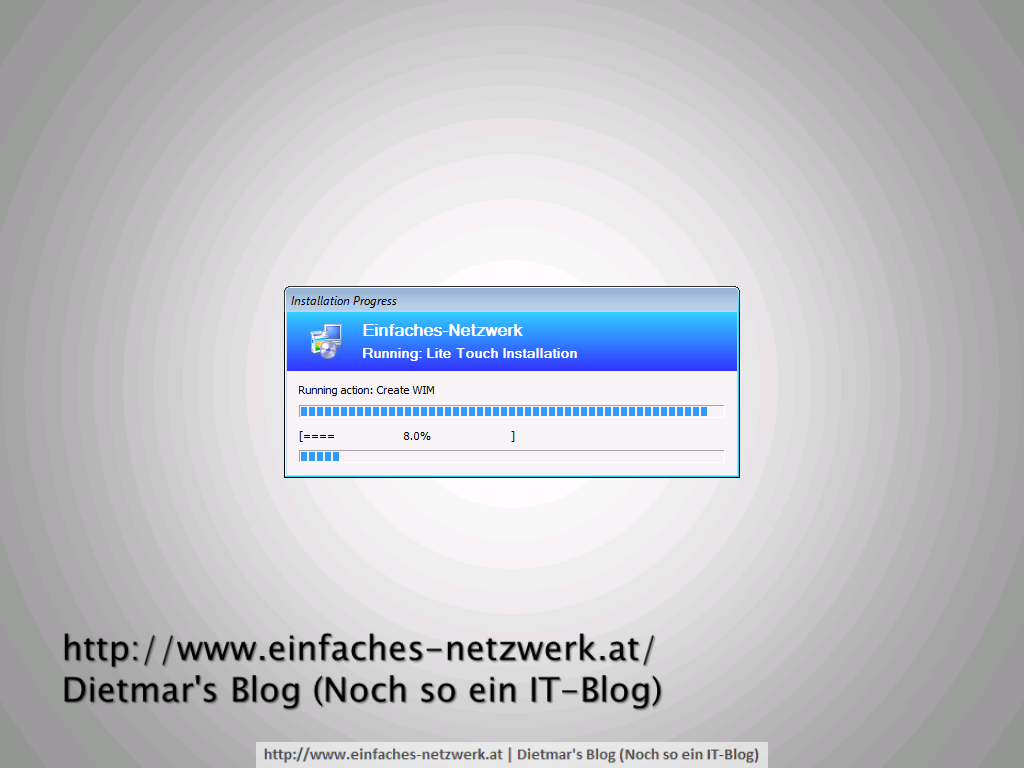
- Das Image wird erstellt
- Die Installation ist abgeschlossen
