In diesem Teil werde ich den Deployment Server MDT1 vorbereiten.
Virtuellen Rechner erstellen – MDT1
- Name: MDT1
- Store the virtual machine in a different location aktivieren
- Generation 2
- Startup Memory: 1024 MB
- Maximum Menory: 4096 MB
- Use Dynamic Memory for this virtual machine aktivieren
- Network Connection: CorpNet
- Hard Disk: MDT1_C.vhdx, 60GB
- Hard Disk: MDT1_DATA.vhdx, 100GB
- Image file: C:\Sourcen\Windows_Server_Std_2012_R2_64bit.iso
Konfiguration von MDT1
Den Rechner wie in Teil 1: Windows Server 2012 R2 installieren und konfigurieren und Teil 1a: .NET Framework 3.5 auf Windows Server 2012 R2 installieren installieren und konfigurieren.
- Name: MDT1
- Domain: intern.einfaches-netzwerk.at
- IP address: 192.168.150.5
- Subnet mask: 255.255.255.0
- Default gateway: 192.168.150.1
- Preferred DNS server: 192.168.150.1
- DNS suffix for this connection: intern.einfaches-netzwerk.at
Windows ADK installieren
- Als Administrator an MDT1 anmelden
- Windows ADK 10 herunterladen
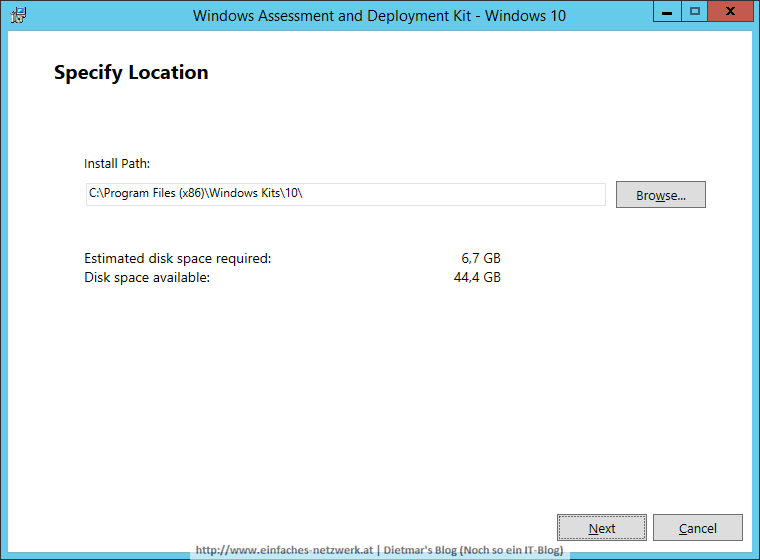
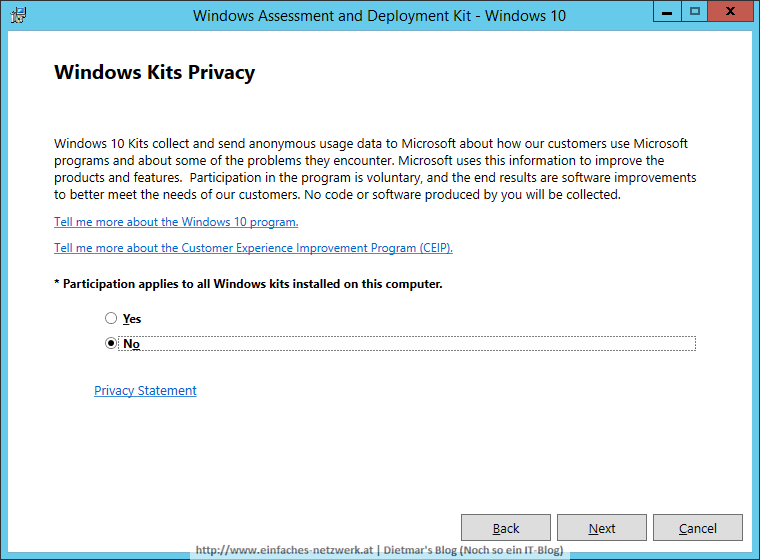
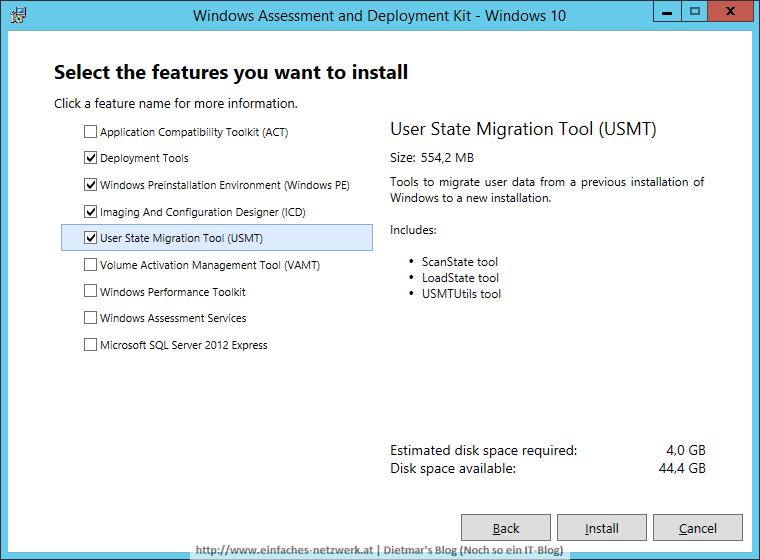
- adksetup.exe doppelklicken
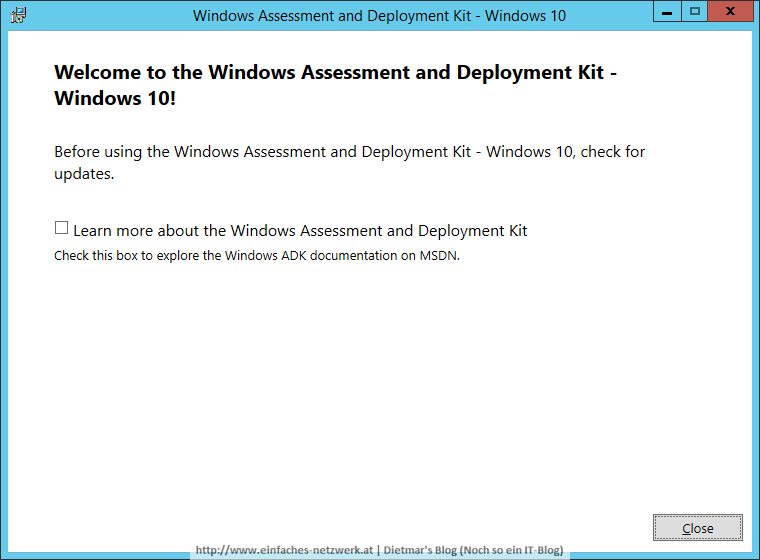
- Windows Assessment and Deployment Kit – Windows 10
Microsoft Deployment Toolkit installieren
- MDT 2013 Update 1 herunterladen
- MicrosoftDeploymentToolkit2013_x64.msi doppelklicken
- Den Wizard durchklicken

Update: Microsoft Deployment Toolkit (MDT) 2013 Update 1
- Version: 6.3.8298.1000
- Date Published: 15.09.2015
Windows Deployment Services installieren
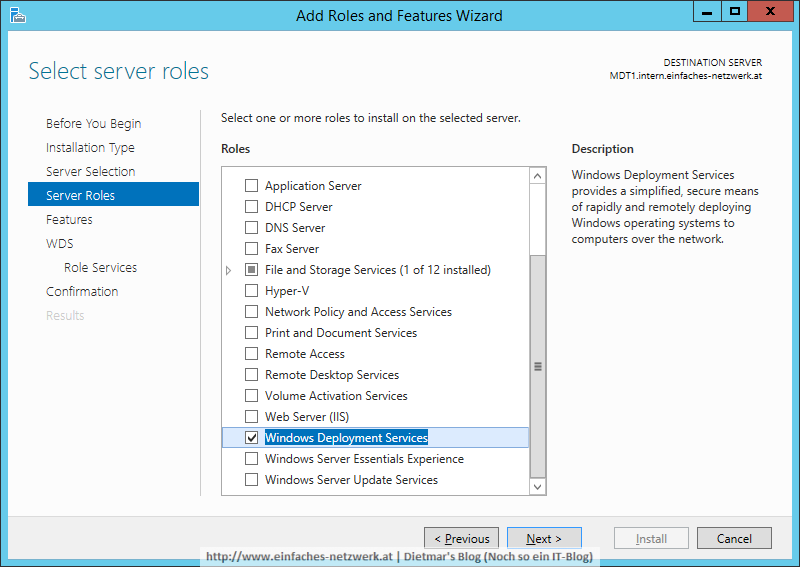
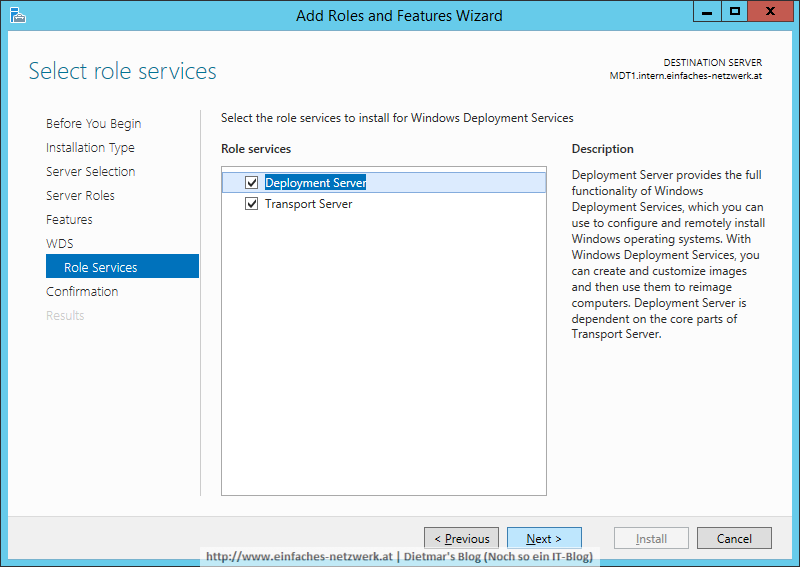
- Server Manager > Manage > Add Roles and Features
- Add Roles and Features Wizard
Windows Deployment Services konfigurieren
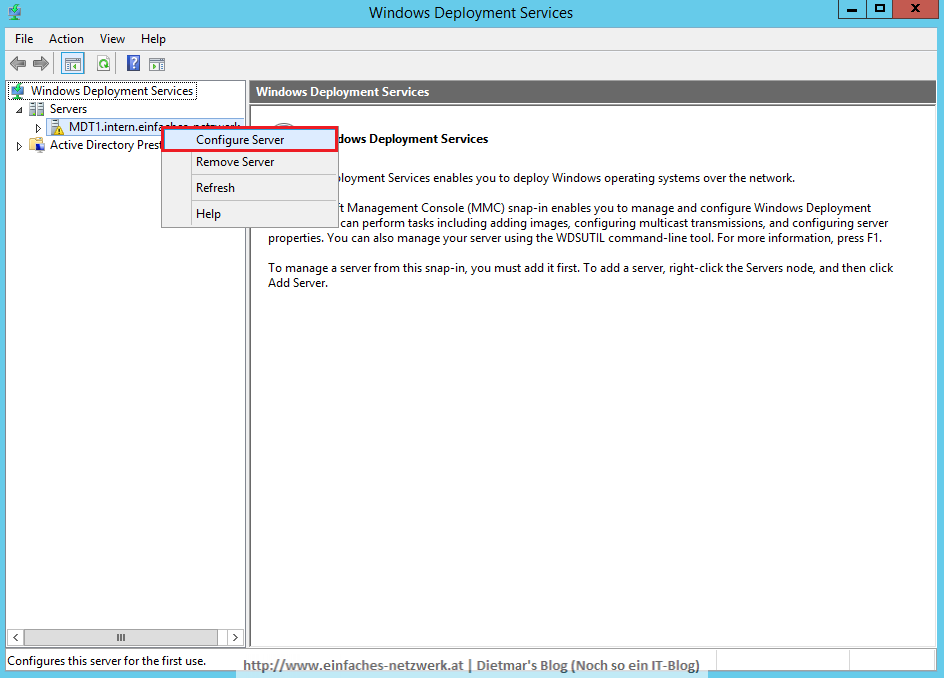
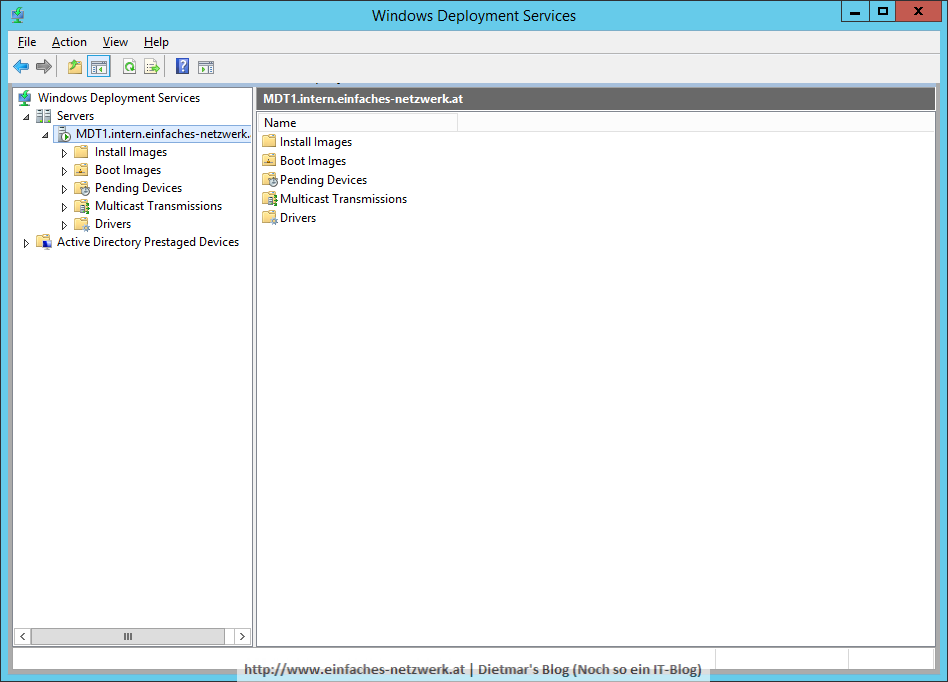
- Server Manager > Tools > Windows Deployment Services
- Servers erweitern
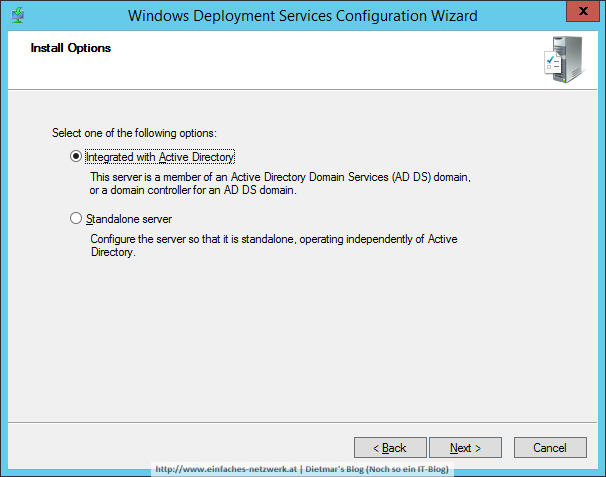
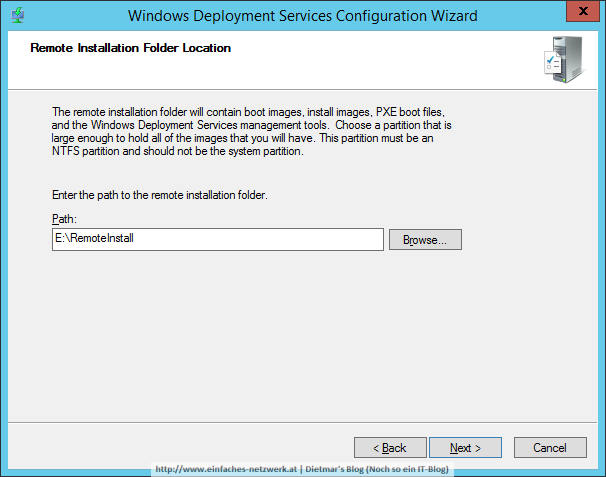
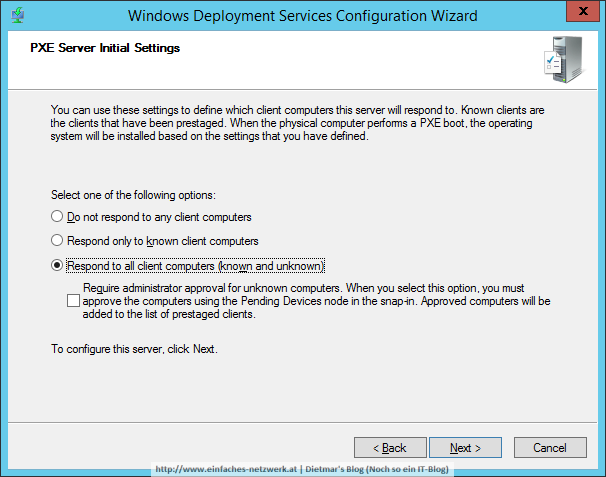
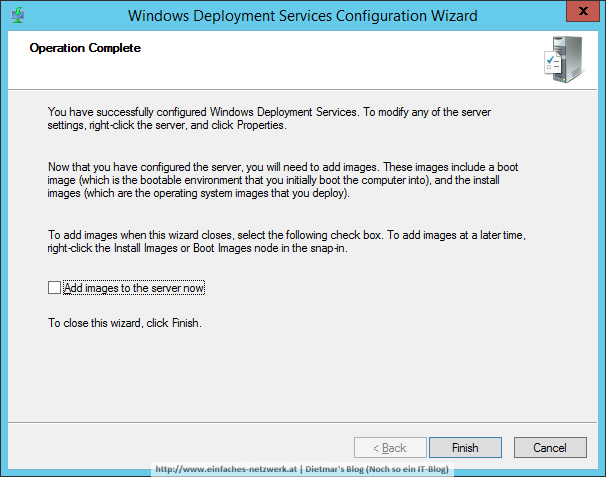
- MDT1 rechts anklicken > Configure Server
- Windows Deployment Services Configuration Wizard
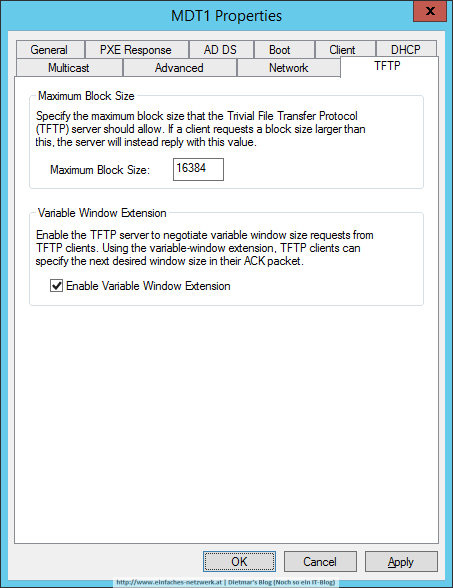
- MDT1 rechts anklicken > Properties
- Auf den Reiter TFTP wechseln
- Fenster mit OK schließen
- MDT1 neu starten
CMTrace herunterladen und installieren
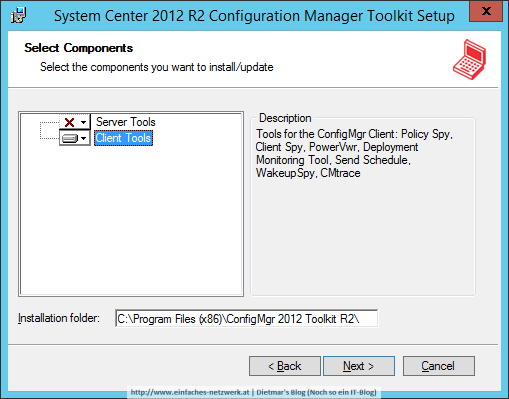
- System Center 2012 R2 Configuration Manager Toolkit herunterladen
- ConfigMgrTools.msi doppelklicken
- Toolkit Setup
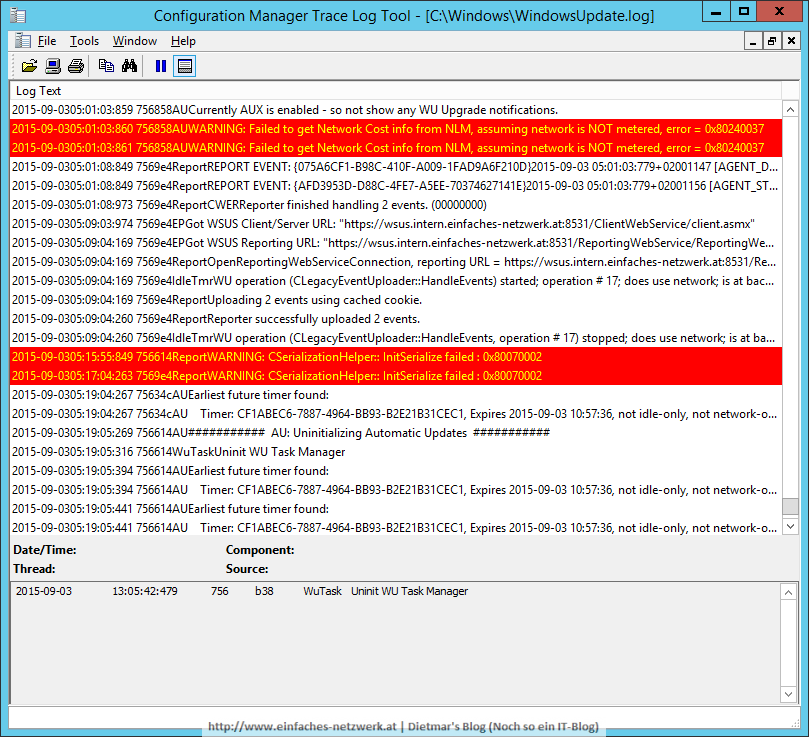
- CMTrace starten
- Mit Yes zum Standard-Viewer für Logdateien machen
